


Are you looking to include a WordPress cookie consent notice on your website?
It’s standard for WordPress sites to place cookies on the browsers of people who visit them. But there’s a catch if your audience includes people from the European Union. EU laws say you must ask visitors for their approval before putting cookies on their devices.
This guide will walk you through the steps to easily add a cookies popup banner in WordPress.
- Video Walkthrough
- Why is a Cookie Consent Popup Banner Necessary?
- How Do You Add a WordPress Cookies Consent Popup Banner?
- How to Improve GDPR Compliance with MonsterInsights
- Frequently Asked Questions
Cookie Banner Video Walkthrough
Why is a Cookie Consent Popup Banner Necessary?
Have you ever wondered why browser cookies matter for your WordPress site? Let’s break it down.
Browser cookies are tiny pieces of data sent from a website and stored in your user’s browser. They serve many purposes.
For example, WordPress uses cookies to recognize who’s logged in and to remember visitors who leave comments on your site. Various WordPress plugins might also set their cookies for reasons like identifying returning visitors or storing specific information.
Now, you might be curious about how exactly your site uses cookies. While cookies are handy for things like user authentication and remembering preferences, they also have the potential to collect information about users.
Sometimes, this information is even shared with third-party advertising platforms. This is where the need for a cookie consent popup banner comes in.
In Europe and some other regions, laws require website owners to inform and obtain consent from users before setting any cookies on their devices.
So, if your website has visitors from these areas, it’s not just a courtesy but a legal requirement to display a cookie consent banner. This banner is a way of being upfront with visitors about using cookies and respecting their privacy rights.
How Do You Add a WordPress Cookies Consent Popup Banner?
Adding a cookies consent popup to your WordPress site might sound technical, but it’s pretty simple!
The most straightforward method is to use a WordPress GDPR plugin. Among the popular choices are Cookie Notice and Cookiebot, which work well with many other widely-used WordPress plugins.
So, whether you’re a beginner or a bit more experienced with WordPress, these plugins are great solutions to effortlessly display a cookie consent popup.
Let’s dive into how you can easily set up a cookie consent popup on your WordPress site using these two methods:
- Method 1: Add a Cookie Popup Banner with Cookie Notice
- Method 2: Add a Cookie Popup Banner with Cookiebot
Method 1: Add a Cookie Popup Banner with Cookie Notice
The first method we’re going to look at is using Cookie Notice. This is the easiest and quickest way to set up a WordPress cookie banner.
First, install and activate the Cookie Notice & Compliance for GDPR/CCPA plugin. If you need help with how to do so, read this guide on installing a WordPress plugin.
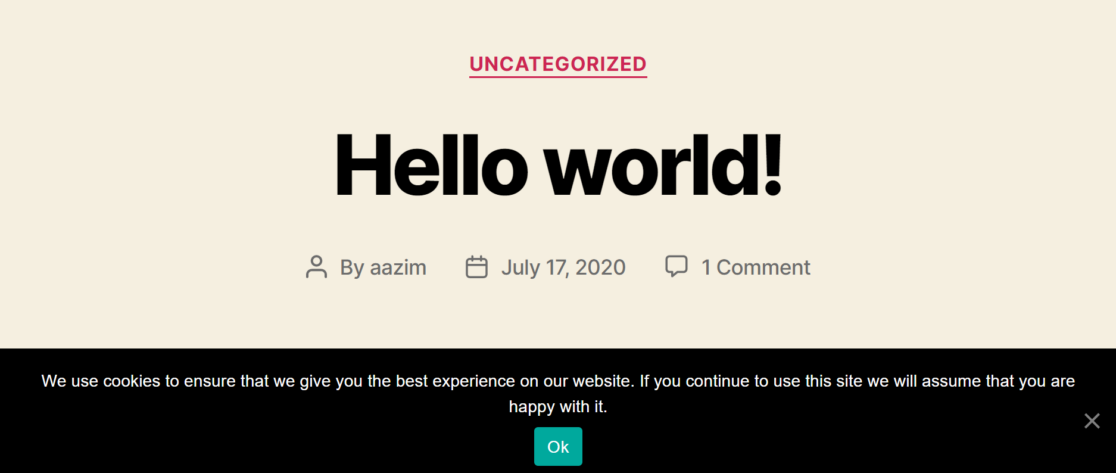
The plugin will immediately show visitors a cookie consent popup banner when activated.

This message is suitable for most websites.
Job done, right?
Yes, for some users, but let’s look at some configuration options.
For this, head to the Cookies menu in your WordPress dashboard. Next, scroll down to the Notice Settings section.

On this page, you can customize the button text and message of the cookie consent popup banner. If you want, you can also link to your privacy policy page.
If you don’t have a privacy policy page yet, read this guide on creating one in WordPress.
With the cookie notice plugin, you can also give visitors the option to Refuse consent and Revoke consent.
To do this, check off the boxes.

Scroll down to the Notice Design section, and you can customize the position, animation, style, button, and colors for your cookie consent popup banner.
If you’re feeling adventurous, add custom CSS to your popup banner and set a class for your button.

Save your changes once you are happy with how everything looks. Next, head to your website to see your cookies popup banner in action.
Method 2: Add a Cookie Popup Banner with Cookiebot
Next, we’ll add a cookie consent popup banner to your WordPress site with the Cookiebot plugin.
Although it’s not as quick and easy as Cookie Notice, this method offers more customization options. Also, note that you must create a free account to set up a cookie consent popup with Cookiebot.
Begin by installing and setting up the Cookiebot plugin. If you need more features than what’s offered in the free version of their plugin, make sure to check out the Cookiebot pricing plans.
After installation, your WordPress dashboard will feature a new section for Cookiebot.
To start configuring, head over to Cookiebot » Settings in your dashboard.
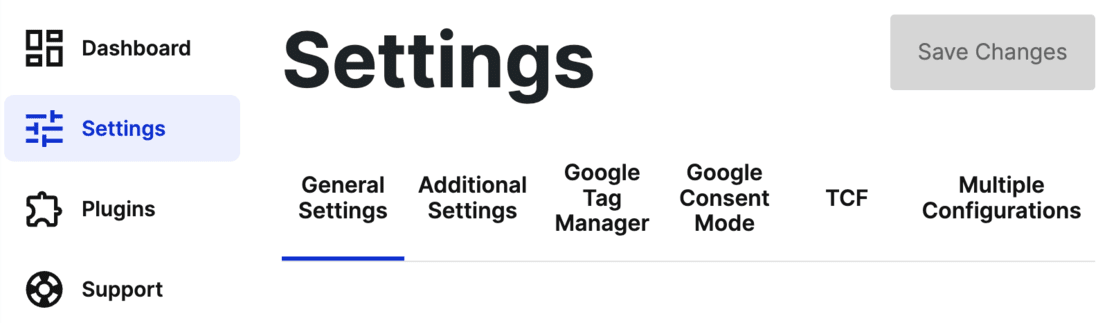
If you’re not already registered with Cookiebot, you’ll have to create an account. Click on Create a New Account to get started.

Here, you’ll enter your email and password. Remember to agree to the terms of service, privacy policy, and DPA.
Then, hit Create Account.
Once your account is set up, you are directed to the Cookiebot settings. Here, input your website’s URL in the Domain name section.

Note: The free version only allows one domain name.
Next, follow the steps to set up your account and copy the Domain Group ID.

Now, go back to the Cookiebot settings on your WordPress dashboard. Under General Settings, find the Connect your Domain Group section and paste your Domain Group ID.
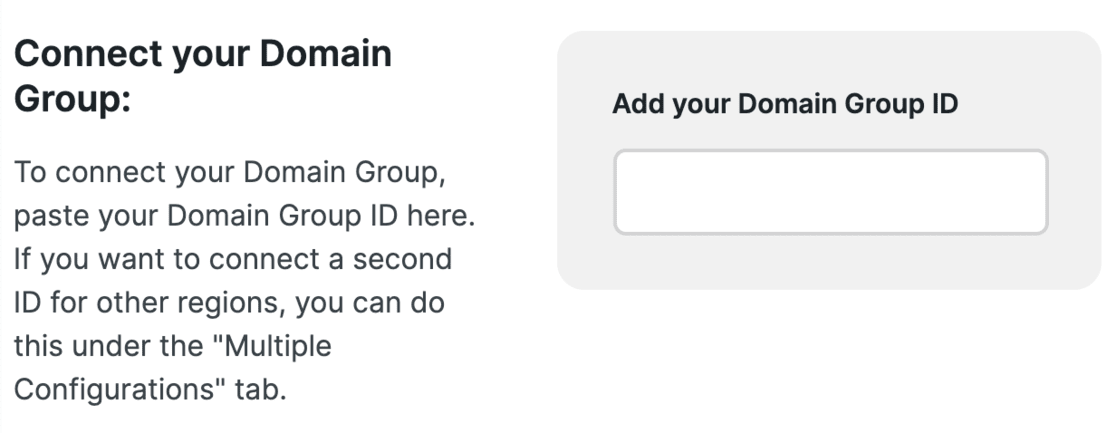
Remember to save your changes by clicking Save Changes at the top.
Further down, you’ll find additional settings options. For instance, you can choose the language for your popup. It’s set to ‘Autodetect’ by default, but you can change it if you wish.
Here, make sure to select the cookie-blocking mode. The ‘Automatic cookie-blocking mode’ is recommended as it blocks all non-essential cookies until the user consents.
To ensure Google Analytics doesn’t run, we recommend checking out MonsterInsights. We’ll talk more about it in a minute, or you can jump to the MonsterInsights instructions now.
Consider enabling ‘Auto-update Cookiebot Plugin’ in the Additional Settings tab to update the plugin with GDPR changes.

Also, activate ‘Render Cookiebot CMP on front-end while logged in’ for testing so you can see the popup even when logged into WordPress.

Remember to hit Save Changes after making your adjustments.
Now it’s time to customize your cookie consent popup banner. For this, you must go to Cookiebot’s website and your account.
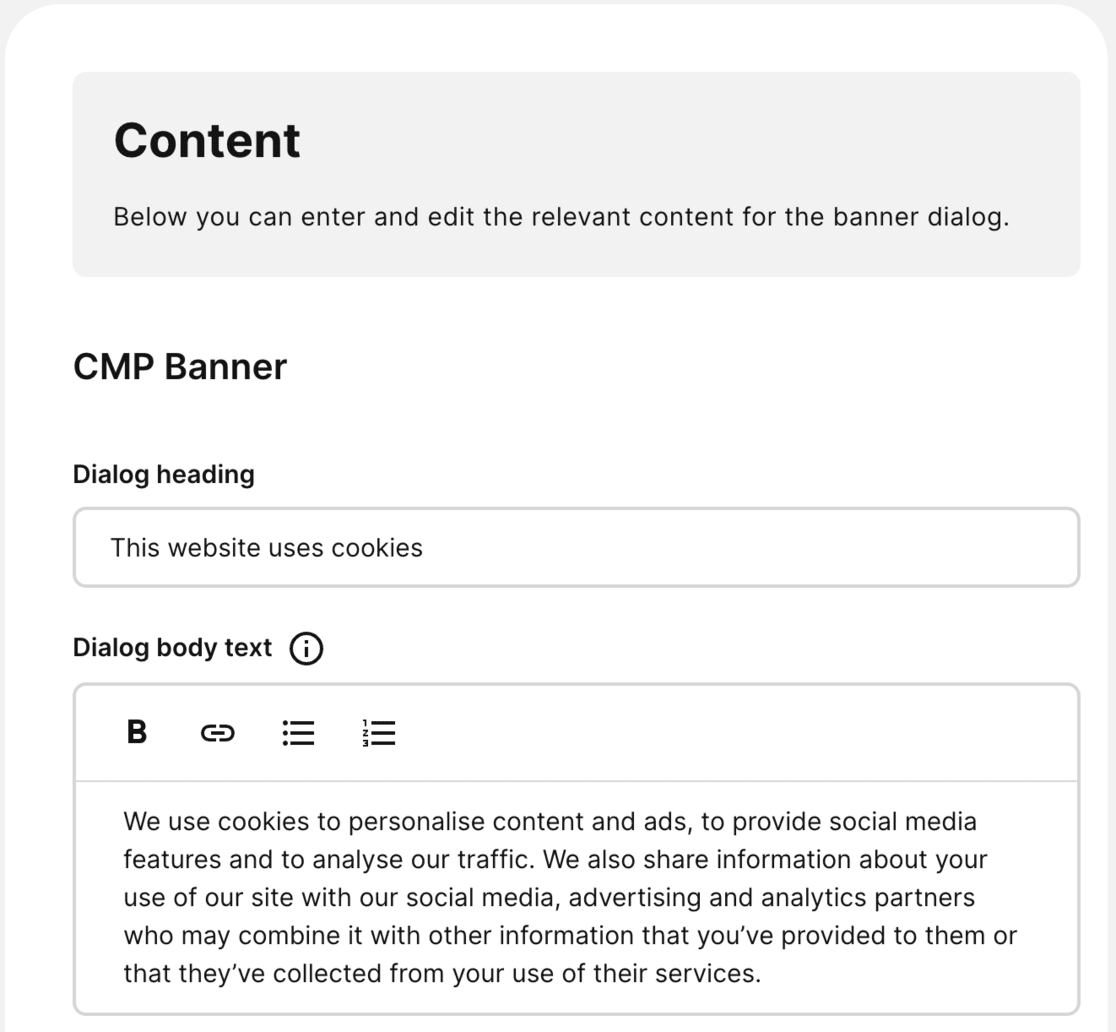
Under the Configuration tab, you can pick a template and customize the popup’s position and look. Preview your changes there or check them directly on your site.

Adjust the default message in the Content tab if it doesn’t align with your cookie usage.
Lastly, you might want to update your website’s privacy policy with a cookie declaration.
On Cookiebot’s website, go to the Privacy tab and then Declaration.
Here, you have a cookie declaration that you can edit and add to your privacy policy page.
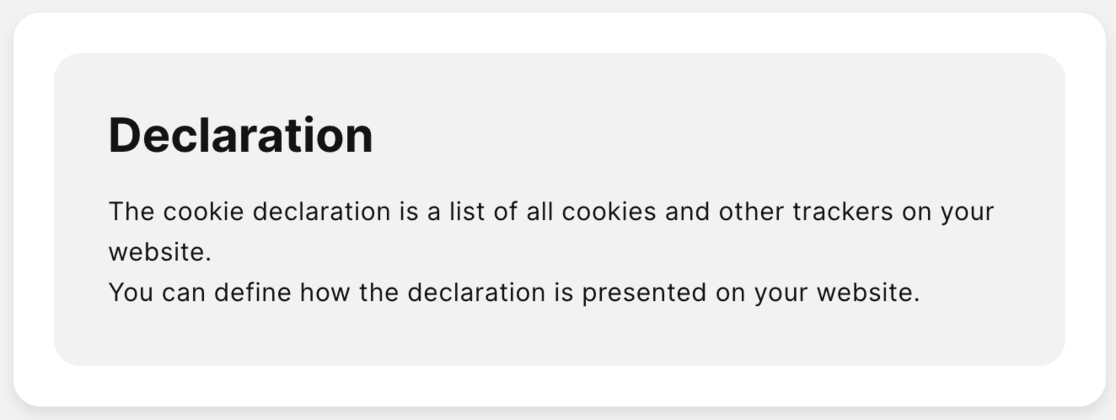
The default cookie declaration is standard, but if your site uses cookies differently, you might need a premium Cookiebot subscription for more customization options.
How to Improve GDPR Compliance with MonsterInsights
You might be surprised that Google Analytics isn’t automatically GDPR compliant. Given the hefty penalties for non-compliance introduced in May 2018, ensuring your site meets these regulations is essential.
This is where MonsterInsights comes in. Recognized as an effective WordPress GDPR plugin, MonsterInsights can simplify the process by integrating Google Analytics in a GDPR-compliant way.

Let’s explore how MonsterInsights can be a game-changer for your website’s compliance journey.
For starters, MonsterInsights eases the alignment of your website’s Google Analytics with privacy laws – and it’s all automated, so no coding is required!
This tool allows you to adjust privacy settings to fit your needs. This includes anonymizing IP addresses, reducing demographic and interest data collection, halting UserID and author tracking, and setting up an AMP consent box.
Moreover, MonsterInsights seamlessly integrates with popular cookie plugins like Cookiebot and Cookie Notice. This means you can fine-tune your user experience and how you gather data. Plus, this addon smoothly works with Google Analytics’ consent system and Chrome extension, boosting its capabilities.
To get started, head over to the pricing page of MonsterInsights. You’ll need the pro plan or higher to access the EU Compliance Addon.

Next, you have to install and link the plugin to your Google Analytics account. This is done quickly by activating the plugin and following the setup wizard.

If you need help, check out this step-by-step guide on installing MonsterInsights.
After successfully installing and configuring MonsterInsights, the next step is to add the EU Compliance addon.
You can easily do this by visiting Insights » Addons in your WordPress dashboard.
There, locate the EU Compliance addon and simply click on Install.

Once the installation is complete, the EU Compliance addon will be activated automatically.
To verify, head to MonsterInsights » Settings and switch to the Engagement tab. The EU Compliance section shows that the addon is now active.
To look deeper into the settings, click the down arrow on the right.

This will reveal a comprehensive list of the changes the addon implements on your website.
For example, it anonymizes IP addresses for Google Analytics, turns off demographics and interest reports, and turns off UserID tracking, among other adjustments.
On this page, you can also see how MonsterInsights works with cookie plugins like Cookie Notice and CookieBot.
When any of these plugins are used on your site, MonsterInsights respects user choices and follows GDPR rules by waiting for visitors to consent before triggering the Google Analytics script.
This ensures that user tracking in Google Analytics only happens after user consent, aligning with GDPR requirements.
Legal Disclaimer: Due to the dynamic nature of websites, no single plugin can offer 100% legal compliance. Please consult an Internet law attorney specialist to determine if you are in compliance with all applicable laws for your jurisdictions and your use cases. Nothing on this website should be considered legal advice.
Frequently Asked Questions
Does WordPress need a cookie consent?
You need a cookie consent banner if your WordPress site uses cookies and has visitors from regions like the EU, where GDPR laws require cookie consent.
How do I allow cookies in WordPress?
To allow cookies, you can use GDPR-compliant plugins like Cookie Notice or CookieBot, which enable users to give their consent.
Do all WordPress websites use cookies?
Most WordPress websites use cookies, especially for essential functions like user authentication and for plugins that might set their own cookies.
Does every website need cookie consent?
Not all, but websites targeting users in areas with strict privacy laws like the EU, where GDPR requires user consent for cookies, need it.
We hope you found this article helpful in adding a cookie consent popup banner to your WordPress website.
If you liked this article, maybe you’d like to read:
How to Make Sure Your Google Analytics Complies with CCPA
MonsterInsights vs. Google Analytics
Google Analytics GDPR Compliance
Remember to follow us on Twitter, Facebook and YouTube for more information and tips on Google Analytics!