Are you looking for a low-cost, high value way to stay engaged with your audience? You’re in luck! Web push notifications are huge conversion drivers and are very affordable.
Did you know that web push notification click-through rates and conversion rates are often higher than email newsletters? They’re so engaging!
In this article, we’ll take an in-depth look at what web push notifications are, why you should use them, what you can do with them, and how to set them up.
What Are Web Push Notifications?
Web push notifications are notifications that are sent by a website or web-based app to a user’s desktop or mobile device. They’re sent through a browser, such as Google Chrome, Firefox, or Microsoft Edge.
Depending on the tool you choose to use to send out your notifications, there are different ways to design them and different ways to ask users to sign up for them.
Have you ever visited a website to search for a product, check game scores, or look up a recipe, for instance, and been asked if you’d like to sign up to receive notifications from the website?
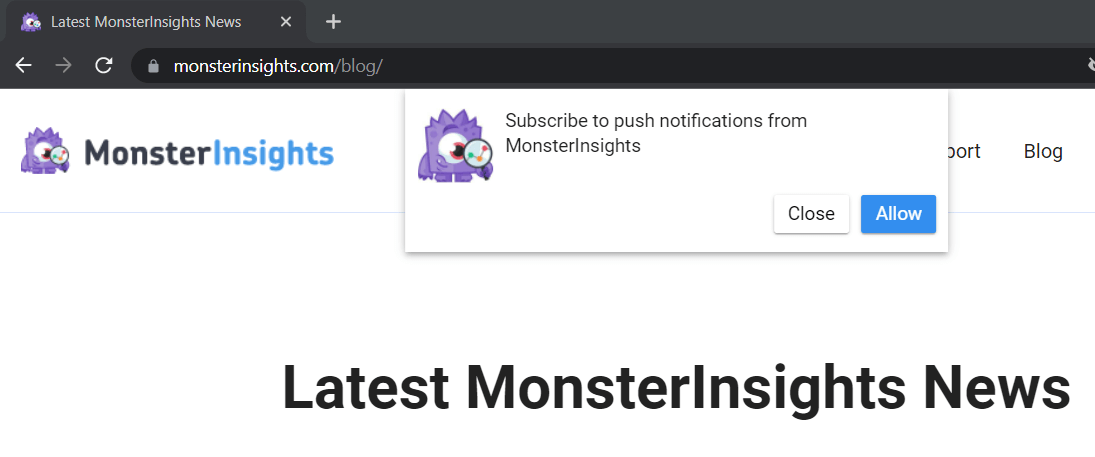
If you have, you were seeing web push notifications in action. After clicking Allow, you’d get any notifications sent by the site or app (in this case, MonsterInsights).
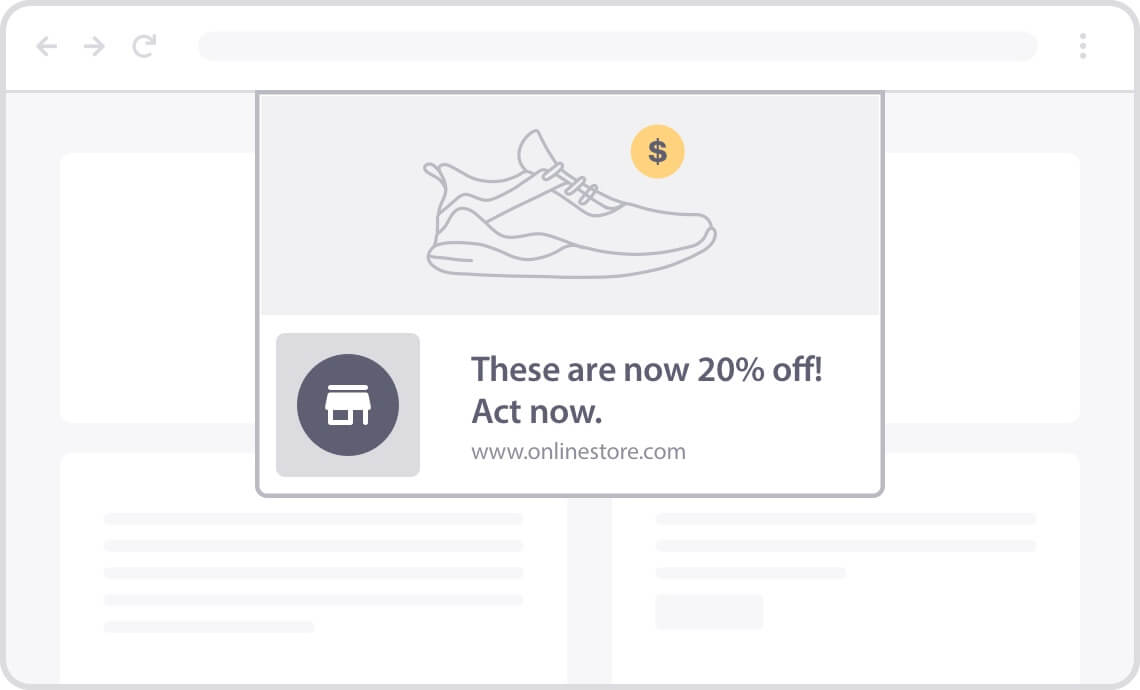
Notifications look different depending on which browser and operating system you’re using, but they all generally have a title, description, image, and link.
Why Use Push Notifications?
The only way for a user to start getting push notifications from you is by clicking the Allow button to sign up for them. If someone isn’t interested in your products, brand, or content, they simply won’t click the button. So, you can expect your push notifications audience to be really engaged with what you have to say or offer.
For this reason, it’s not uncommon for push notifications to have better click and conversion rates than emails do.
There really are a lot of reasons to use web push notifications! Let’s take a look at a few more.
Better Than Email?
Push notifications pop up automatically instead of sitting in an inbox, waiting for the user to open them (or delete them). We’re definitely not saying you should use push notifications instead of emails, but they can be an awesome addition to your marketing plan.
Segmentation & Personalization
If you’re using the right web push notification tool, you can segment and personalize your messages to reach the right people at the right time. Create an automated campaign to introduce someone to your company when they sign up, send alerts only to people who signed up on a certain page or live in a certain area, or insert the user’s name, location, or other field to make your messages personal.
You can even have users self-segment, so they sign up for only the notifications they’re the most interested in.
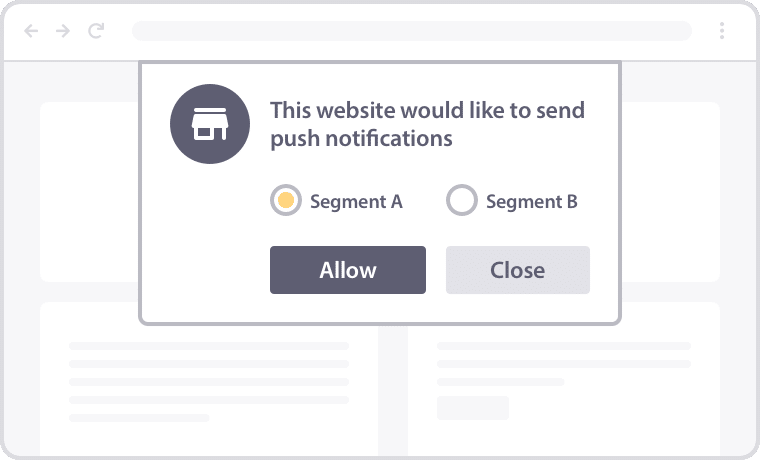
Send Offline Notifications
Worried that notifications only work when your users are currently active and online? Don’t be! Your notifications will be there waiting when your users return. Your message will pop up as soon as your users are back online.
What To Do With Push Notifications
Wondering what kinds of marketing tactics you can do with web push notifications? Here’s a list of a few things you can try:
- Promote product sales or specials
- Send out new blog posts, articles, or other new content
- Alert subscribers to a new feature, product or service
- Remind shoppers of products left in their carts
- Create a series of notifications that introduce a new subscriber to your business
- Send personalized, targeted messages to users in a certain area or who’ve viewed a certain page on your site
Push notifications are really awesome at reaching the right people at the right time. If you use the right web push notification tools, you’ll even be able to set up your notifications to go out when a user completes a custom action on your site (like leaving a cart with products inside).
How To Set Up Web Push Notifications
The best web push notifications tool is PushEngage.
PushEngage is the best web push notifications service for WordPress, Shopify, BigCommerce, and much more. Use the WordPress plugin or Shopify app, or drop their JavaScript code into your website’s body. It works on virtually any site!
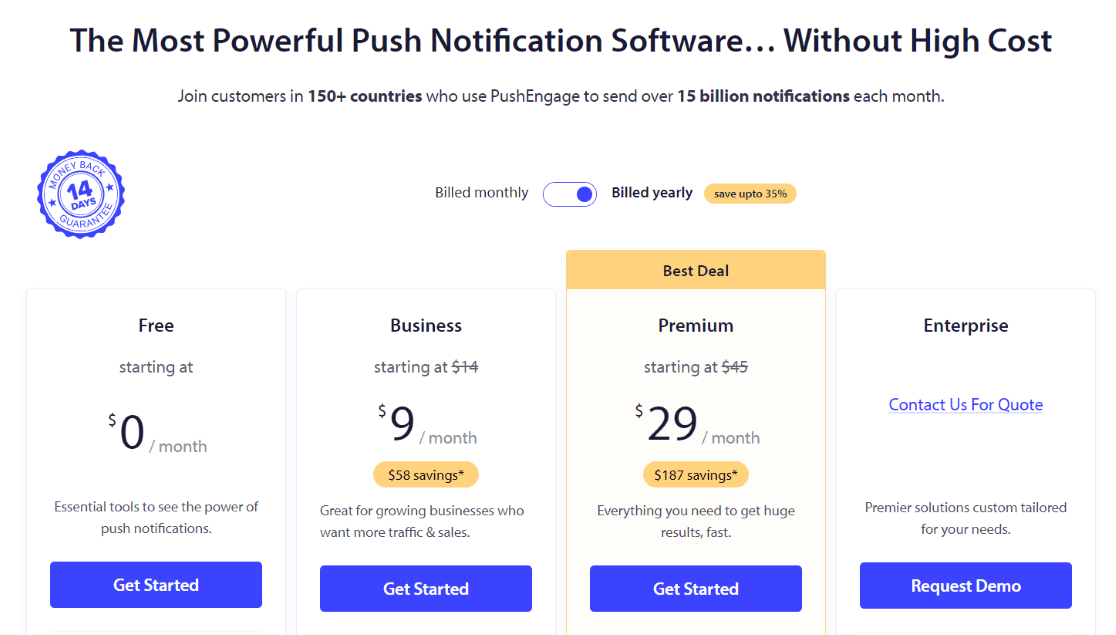
To get started, head to the Pricing page and choose the level that will work best for you to start with.
On the sign-up screen, you can use a Google account or enter an email address, password, first and last name, and mobile number to sign up for PushEngage.
After that, enter the details about your business. For instance, PushEngage will ask for a website address, sub-domain (if any), industry, and company size.
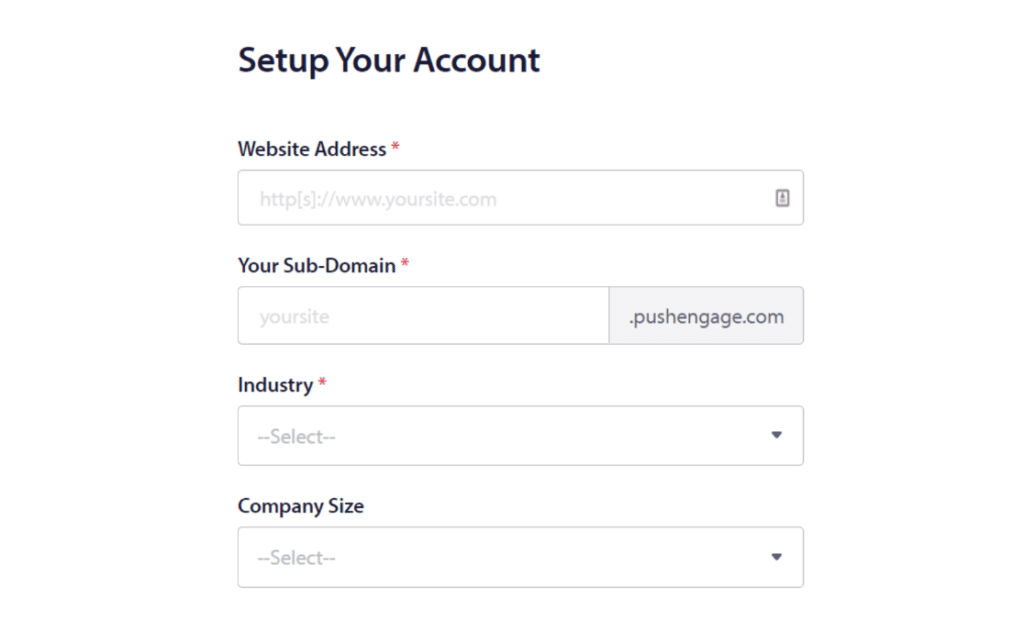
Once you’ve created an account, you’ll be taken to your PushEngage dashboard.
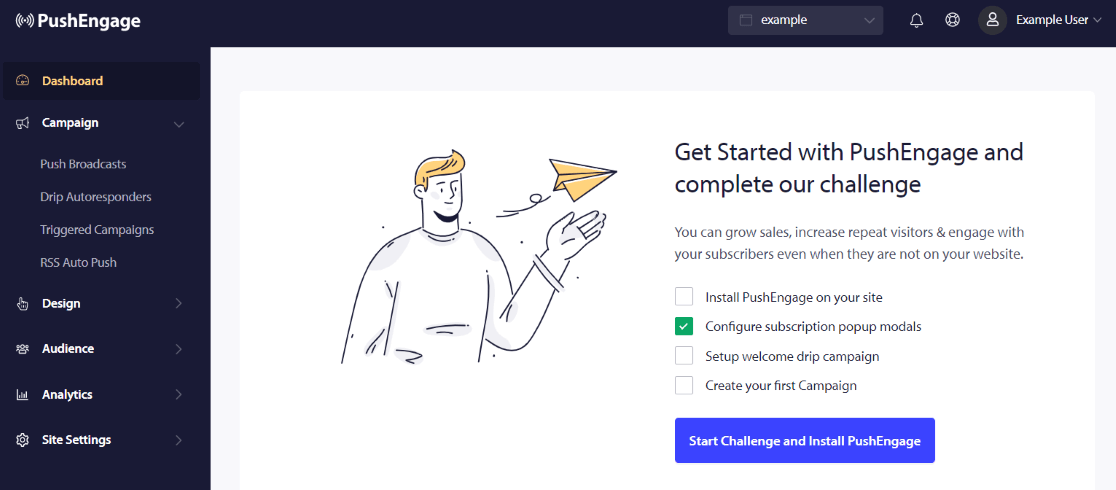
If you click the blue Start Challenge and Install PushEngage button, you’ll be guided through installation, popup modal configuration, setting up a welcome drip campaign, and creating your first campaign.
For more help navigating the dashboard and creating campaigns, make sure to check out PushEngage’s documentation and blog.
We hope you liked our web push notification guide! If you’re looking for more awesome ways to grow your business, check out 32 Marketing Hacks Guaranteed to Grow Your Traffic.
Not using MonsterInsights yet to set up analytics and get the stats that matter? Get started today!
And don’t forget to follow us on Twitter, Facebook and YouTube for more helpful reviews, tutorials, and Google Analytics tips.
