Do you want to add Google AdSense to your WordPress site? Google AdSense is a free, simple way to earn money from your website by displaying targeted Google Ads on your site.
In this article, we’ll show you how to properly add Google AdSense to your WordPress site along with a quick guide on how to track the performance of your ads with Google Analytics.
What is Google AdSense?
Google AdSense is a popular advertising network run by Google that allows you to easily add Google advertisements to make money from your website. It’s a cost-per-click (CPC) program in which you’ll get paid for every click users make on your site’s ads.
Google AdSense provides a super easy way to monetize your site; you just need to insert a small code snippet on your site, and Google will do the rest.
First, AdSense spiders will crawl your site to detect what your site content is about and then they’ll put related ads onto the ad blocks on your site. When people start to click on the ads, you’ll start making money.
The process of getting payments is hassle-free because you don’t need to deal with advertisers. Google deals with the advertisers, collects payment from them, and sends you a percentage of the collected money. Google takes a small percentage of the money as their management fee.
Now, let’s see how to add Google AdSense to your WordPress site.
Prep Your Site for AdSense Installation
The first thing we’re going to do is install an amazing, free plugin that lets us manage different code snippets: WPCode.
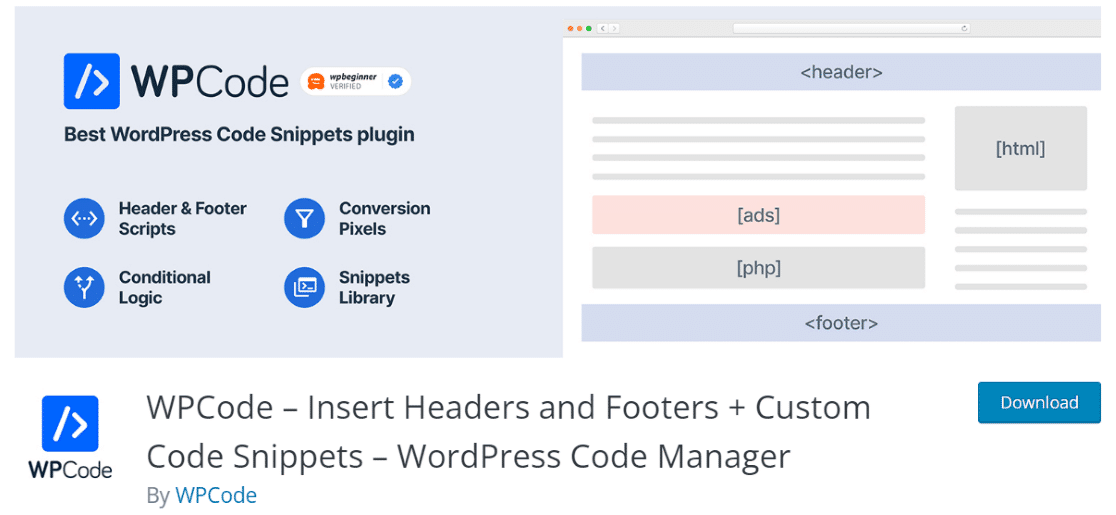
WPCode is a must-have plugin for managing code snippets, including the Google AdSense install code.
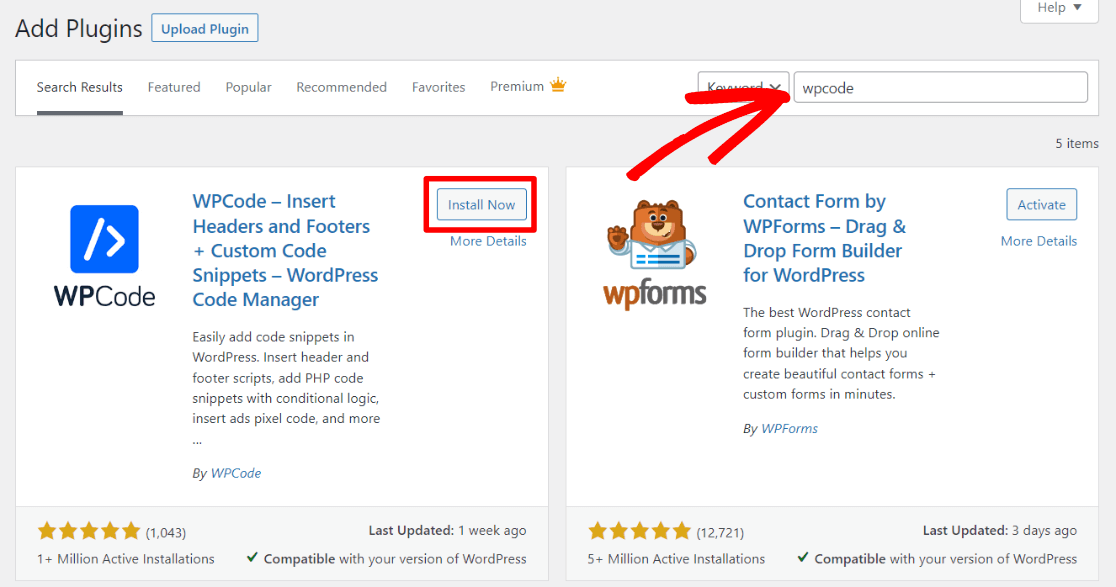
Head to your WordPress dashboard and click Plugins » Add new.

Now, search for WPCode, then click Install Now:
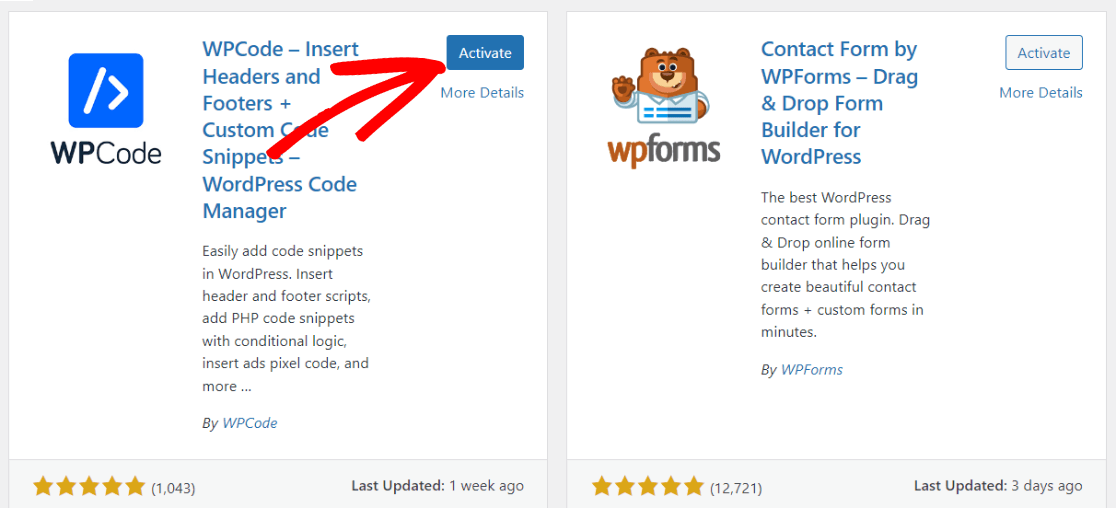
When it’s done installing, click Activate:
Once it’s activated, navigate to Code Snippets » Header & Footer:
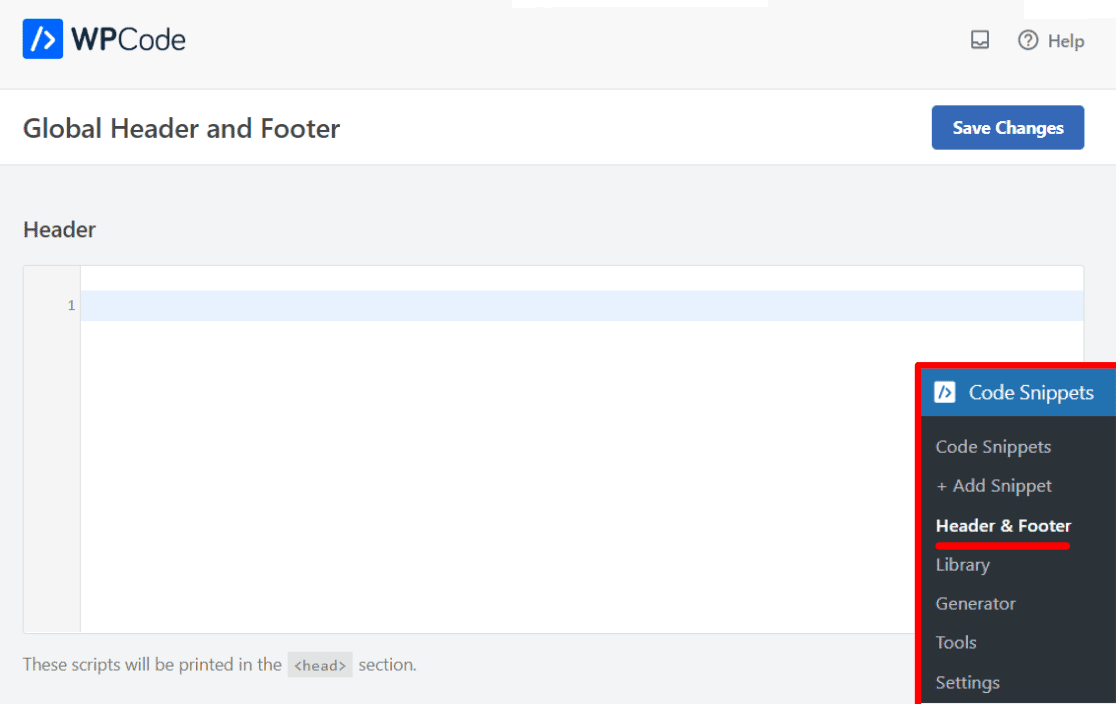
Now you’re ready to paste your AdSense code into the Header box! Let’s move on to setting up AdSense.
How to Set up Google AdSense
First, you’ll need to sign up for a Google AdSense account by going to the Google AdSense website. Click the Get started button to start the signup process.

On the next page, you’ll need to sign into your Google account. Then, you’ll have a few questions to answer:
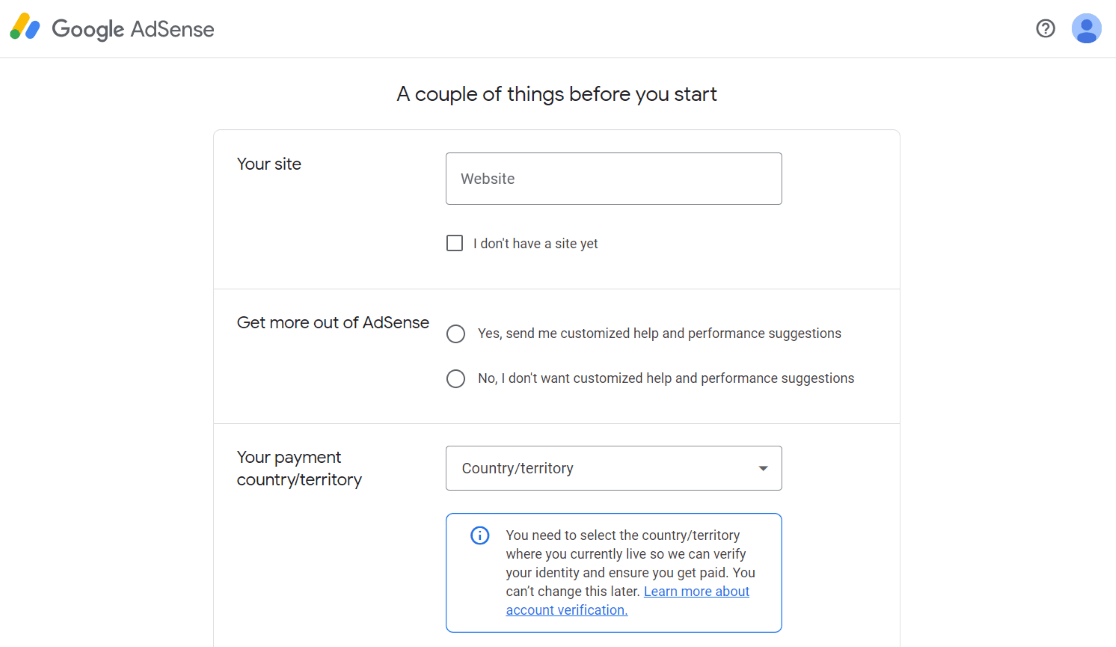
After you’ve gone through the first questions, you’ll land on a screen where you can complete several different setup tasks.
We’ll focus on the third one – connecting your site to AdSense. To start, click the Let’s go button:

Next, you’ll be able to copy the code snippet:
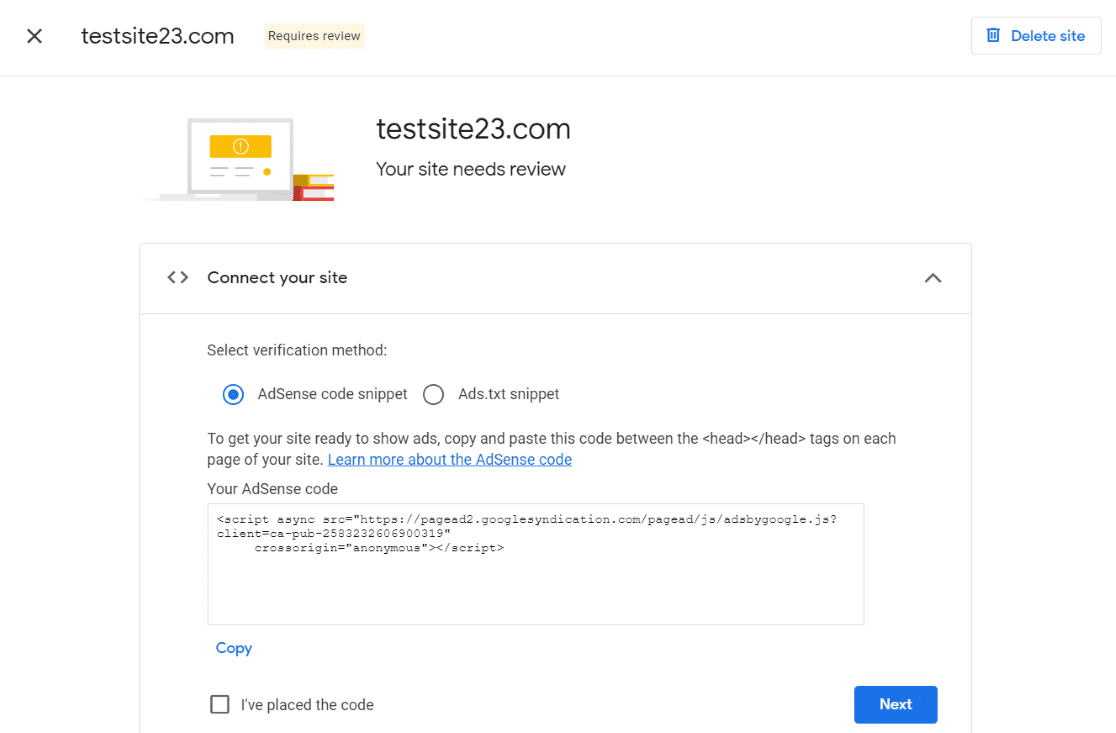
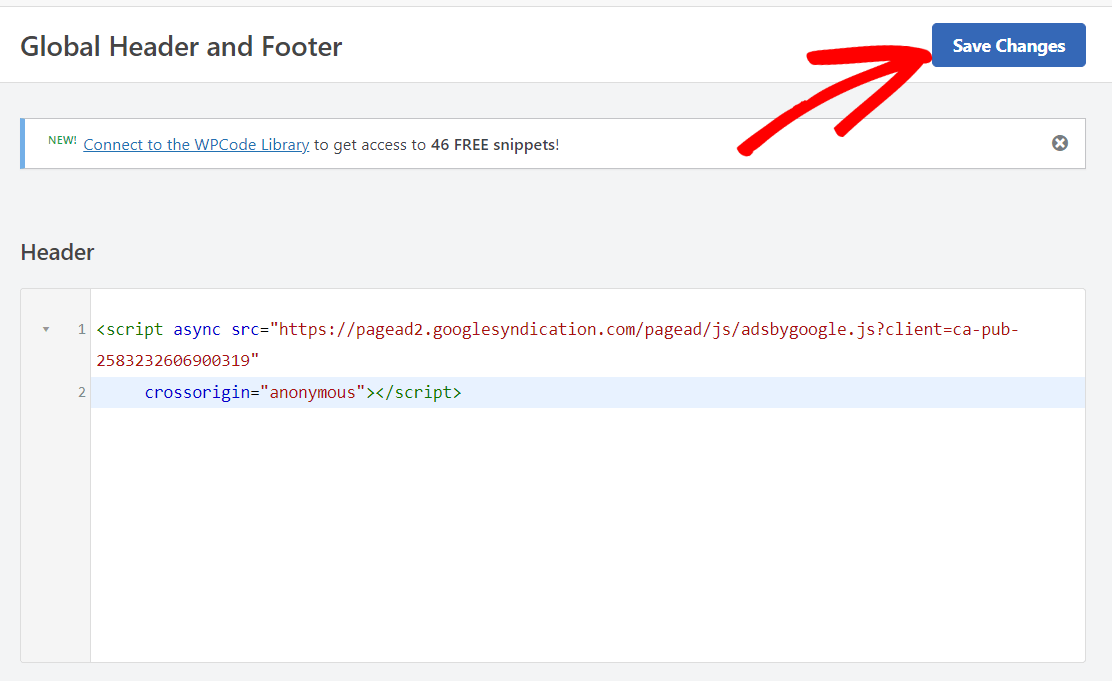
Go ahead and paste the code into the Header box in WPCode, then click Save Changes:
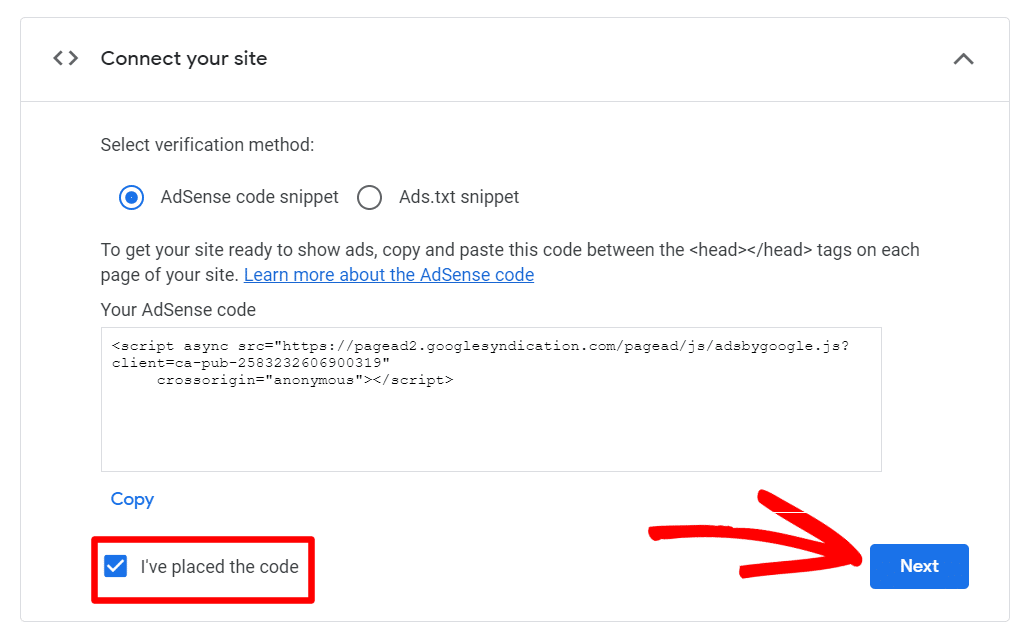
Now, back on your Google AdSense screen, you can check the I’ve placed the code box and click the Next button:
Finally, click the Request review button:
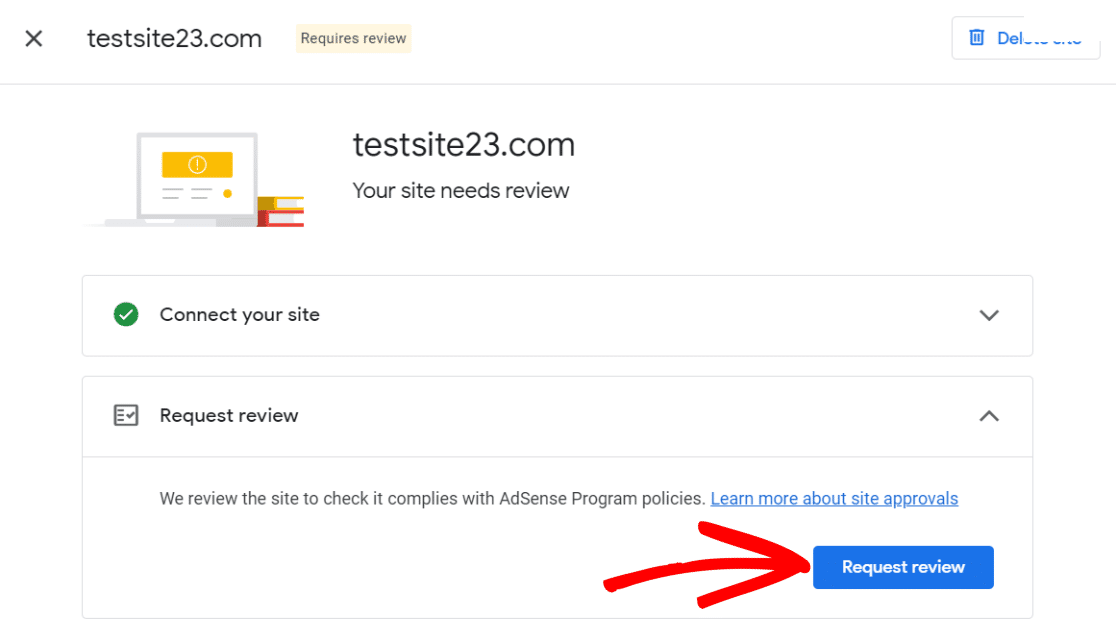
That’s it, you’ve requested review! Now, you’ll need to wait for AdSense to complete their site review before you can start advertising.
We hope this article helped you to learn how to add Google AdSense ads to your WordPress site. You may also like to read our post on the most important Google Analytics metrics every business should track.
And don’t forget to follow us on Twitter, Facebook and YouTube for more helpful reviews, tutorials, and Google Analytics tips.
