Are you looking to display push notifications on your WordPress website?
Push notifications are short messages that you can show to users when they’re not visiting your website. It helps in bringing back visitors, increasing web traffic, and boosting conversions.
In this article, we’ll show you how to set up WordPress push notifications in 5 minutes or less. Let’s get started…
What are Push Notifications and Why Use Them?
Push notifications are clickable messages that appear on your user’s desktop or mobile device. The best part about showing push notifications is that your visitors don’t have to open their browsers to view the message.
Since people opt-in to receiving push notifications, they can be highly engaging. That’s because users interested in your content, products, or services will give permission to receive push notifications.
This means your messages have a higher chance of getting clicks. As a result, push notifications can increase website traffic and get people to return to your website.
Now, are you ready to set up push notifications on your WordPress site?
How to Add WordPress Push Notifications
The easiest way of setting up push notifications in WordPress is through PushEngage. It’s the best push notification software and offers powerful features.
You can segment your users into different groups, set up automated Drip campaigns, send offline notifications, remind customers about cart abandonment, and much more.
PushEngage also offers a free plan to get started. But if you’re looking to send unlimited notifications each month and use advanced features like custom segmentation, then it’s better to select a premium pricing plan.
Video Tutorial
Watch our video to learn how to set up push notifications in WordPress, or read on below.
Step 1: Create an Account on PushEngage
First, you’ll need to create a PushEngage account. You can do that by going to the website and clicking the Get Started for Free Now button.
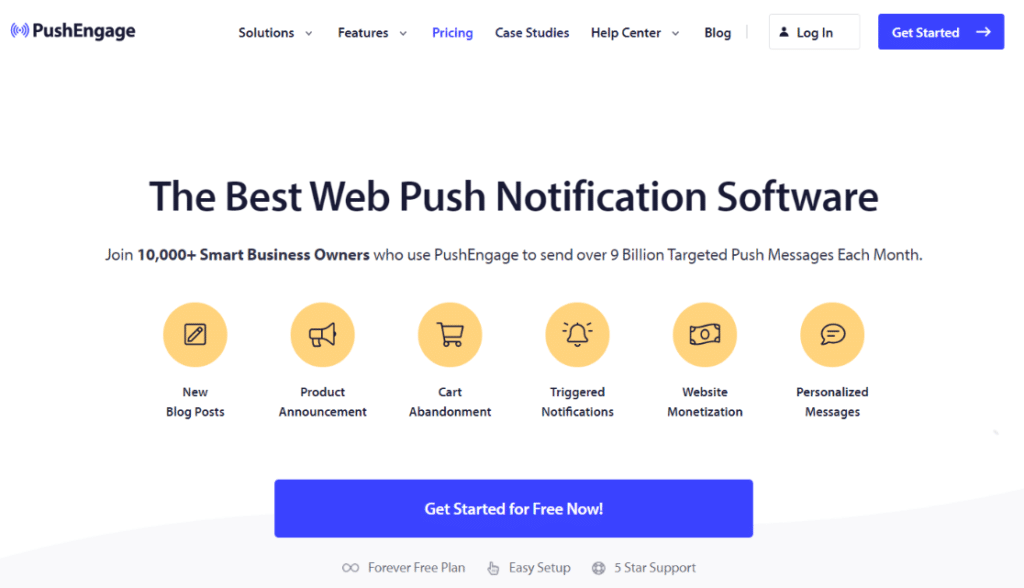
On the next screen, select a pricing plan of your choice. For this tutorial, we’ll be using the free plan.
You can use a Google account or enter an email address, password, first and last name, and mobile number to sign up for PushEngage.
After that, enter the details about your business. For instance, PushEngage will ask for a website address, sub-domain (if any), industry, and company size.
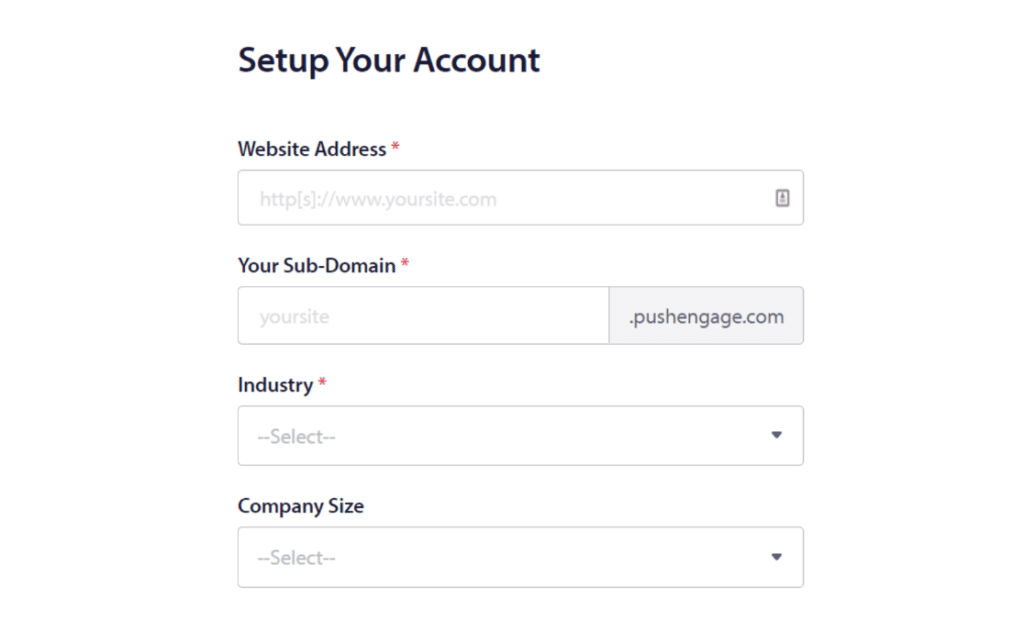
Once you’ve created an account, you’ll be taken to your PushEngage dashboard.

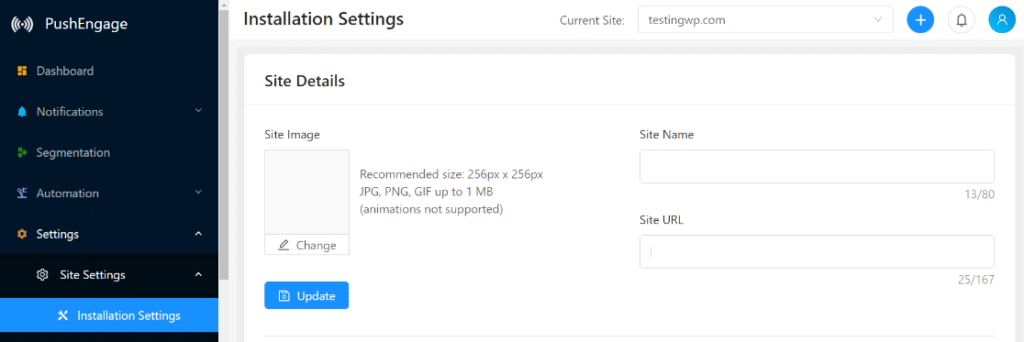
From your dashboard, go to Settings » Site Settings » Installation Settings. Here you can upload a site image that will appear in the push notifications, edit the site name, and see your site URL.
Step 2: Install PushEngage WordPress Plugin
Next, you’ll need to install PushEngage on your WordPress website.
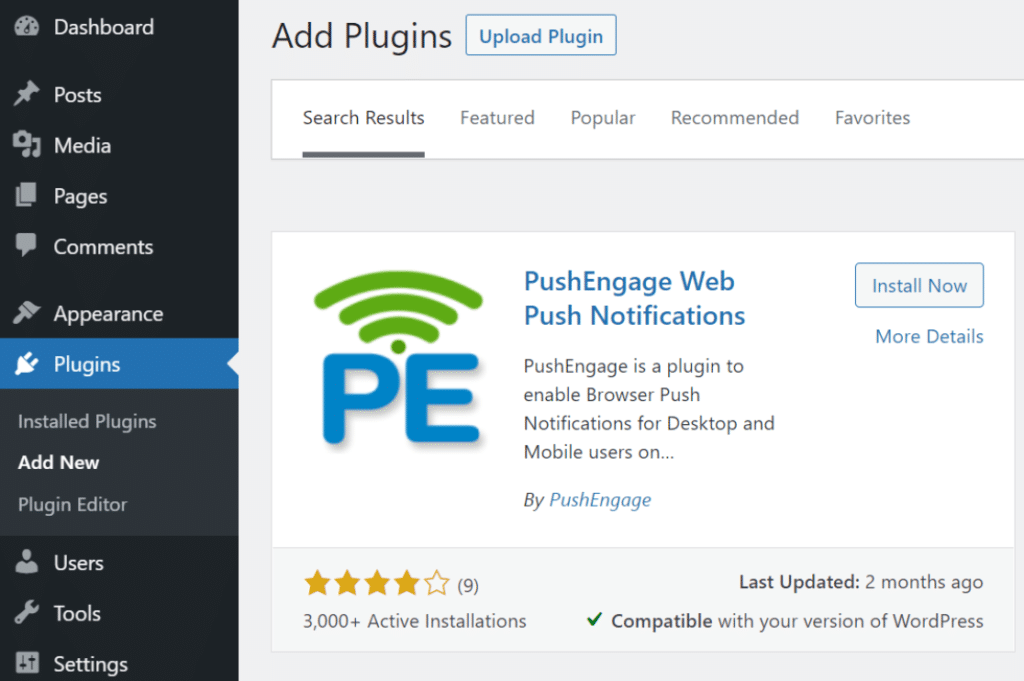
To do that, go to Plugins » Add New and search PushEngage in the search bar. After that, install and activate the plugin.
Once the plugin is active, go to PushEngage from your WordPress admin area. Now click on the Setup tab at the top, and you will see that the plugin will ask for an API key.
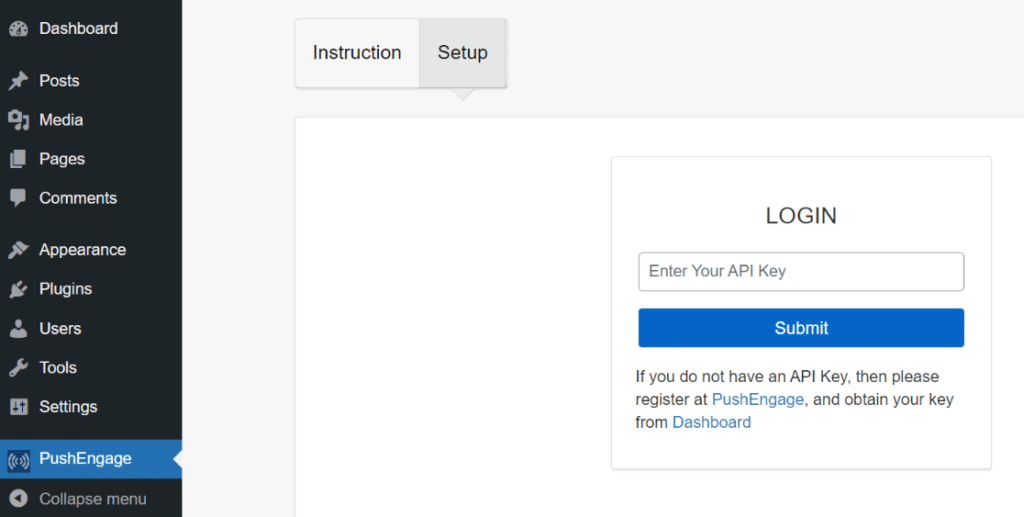
You can generate the API key from your PushEngage dashboard.
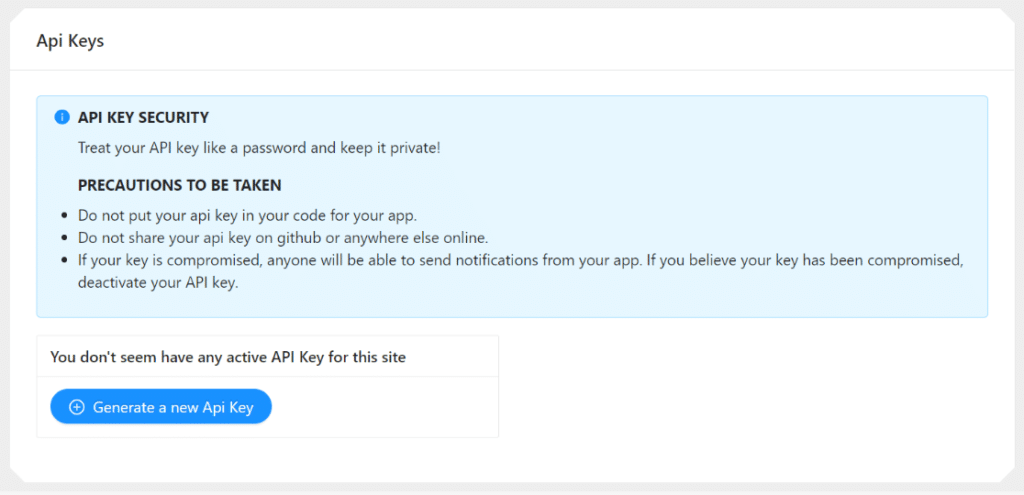
Just go to Settings » Site Settings » API Keys and click the Generate a new API Key button.
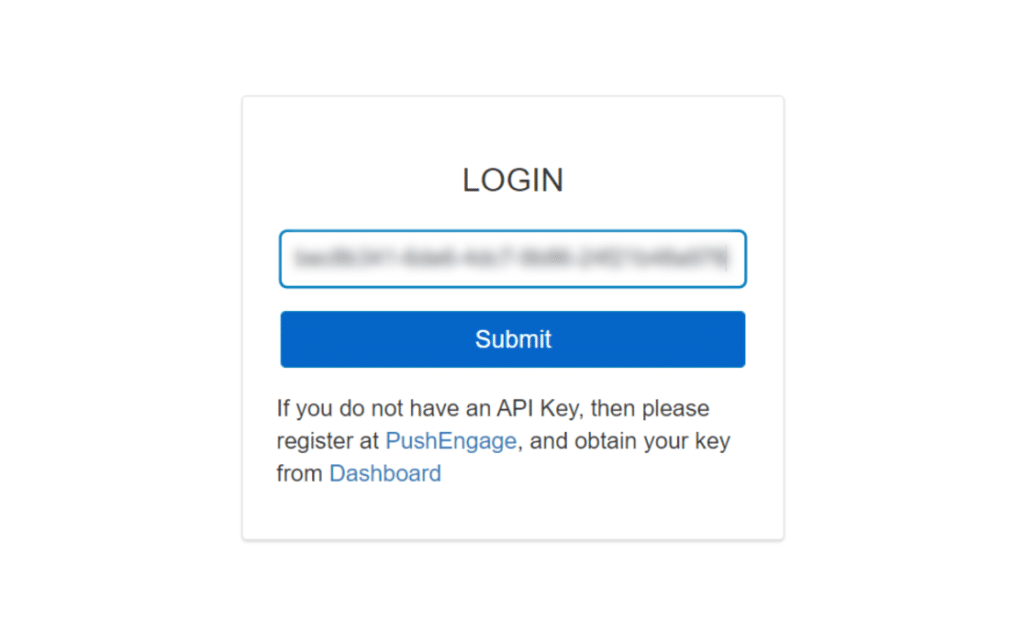
After that, copy the API key and enter it in the PushEngage WordPress plugin. Once that’s done, click the Submit button.
Step 3: Set Up Push Notifications
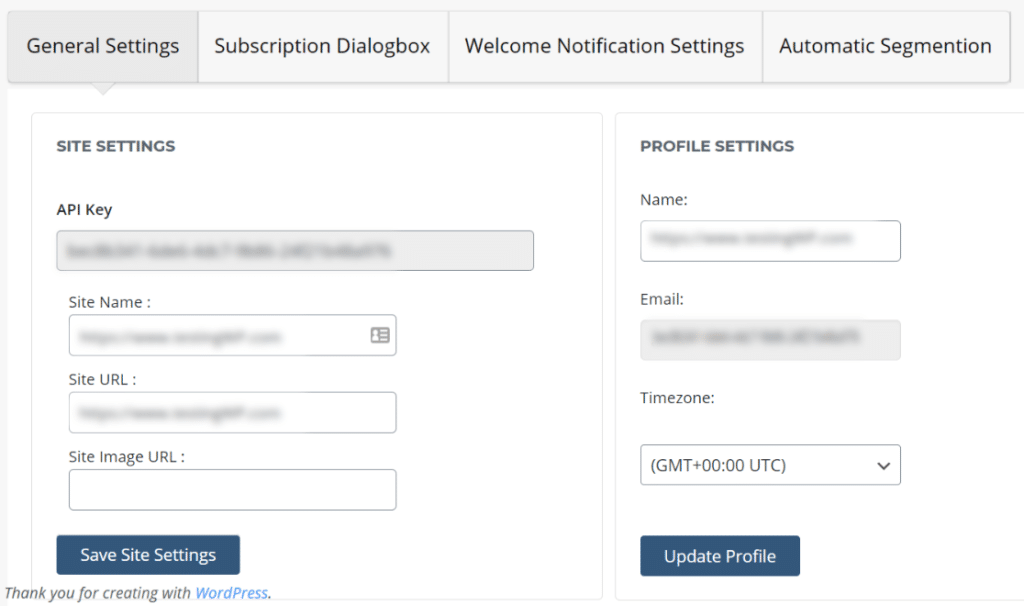
Now, you will see PushEngage settings to set up your push notifications. Under the General Settings tab, you can see your site settings and profile settings.
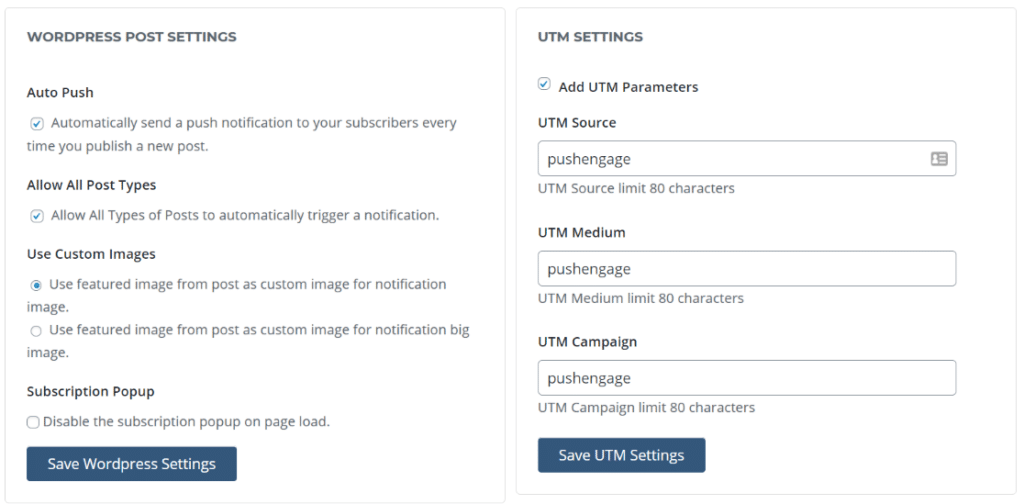
Next, scroll down to view WordPress Post Settings. You can select whether to send push notifications automatically to people every time you publish a new post, allow all post types, use custom images, and disable the subscription popup.
Other than that, you can also edit the UTM settings. Adding UTM parameters helps you see how many people click on your push notification messages.
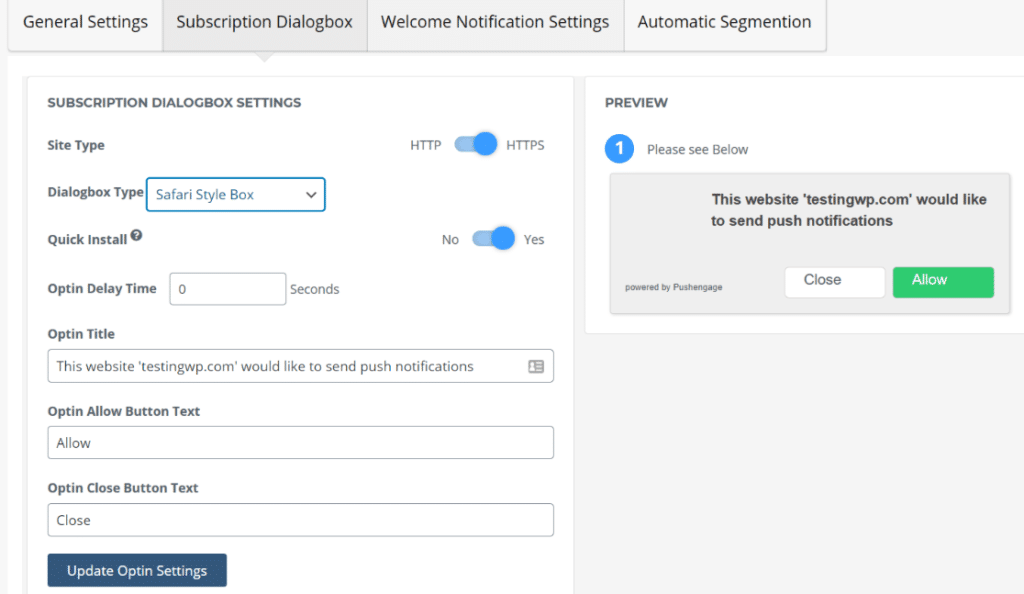
After that, click the Subscription Dialogbox tab. You will find settings to edit the subscription box that people will see on your website.
The plugin lets you select the dialog box type from the drop-down menu, choose site type, add an optin delay time, and show the default text in the message.
You can edit the optin title and show your own message. Plus, it also lets you change the text of the buttons in the dialog box. And you can see a live preview of your changes right next to the settings.
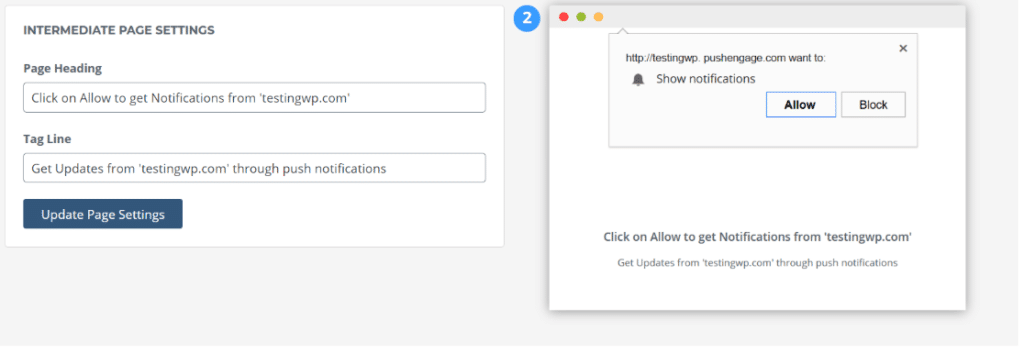
Now, if you scroll down, you’ll see settings for your intermediate page. This is the page that people will see when they click the Allow button. You can edit the page heading and tag line.
After that, you can set up a welcome message by going to the Welcome Notification Settings tab. Just enter a notification title, message, and URL.
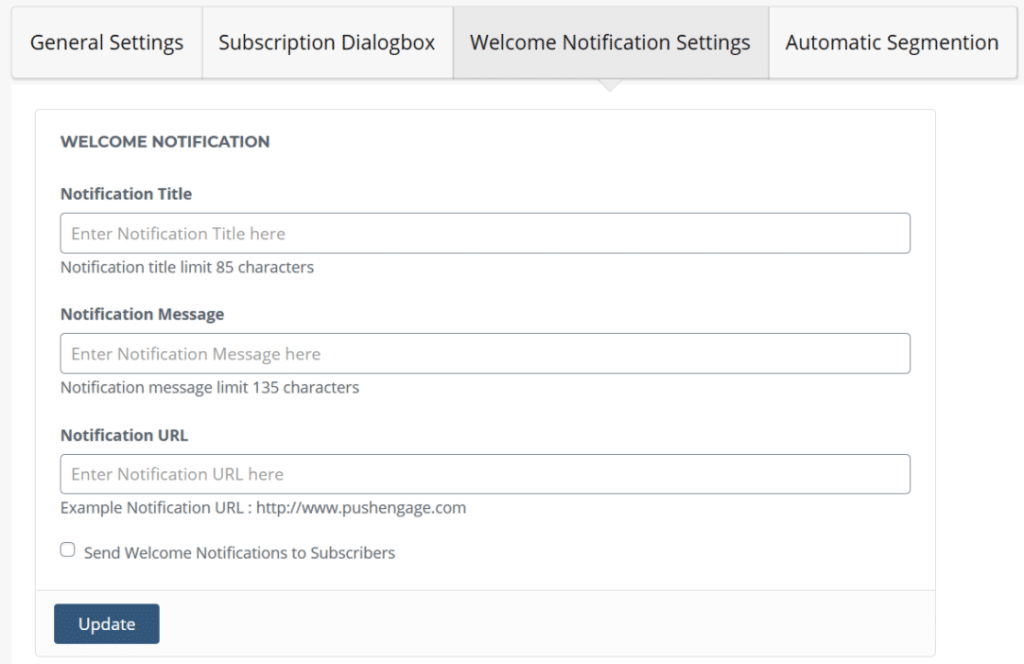
Don’t forget to click the Update button after making the changes.
Step 4: Test Your Push Notifications
Now, you can test your push notifications by opening your website on another device.
When you open your site, the dialog box should automatically appear and ask for your permission to send push notifications.
Here’s how it looks like on desktop on MonsterInsights:
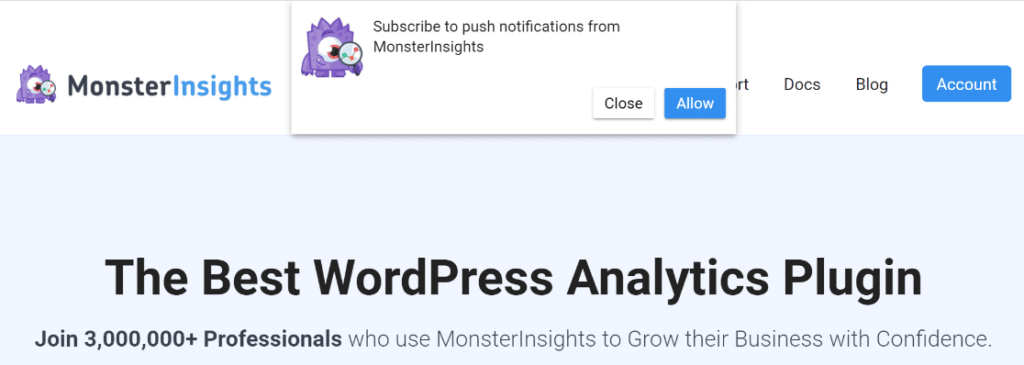
Go ahead and click the Allow button. You will now see the intermediate page dialog box appear in your browser.
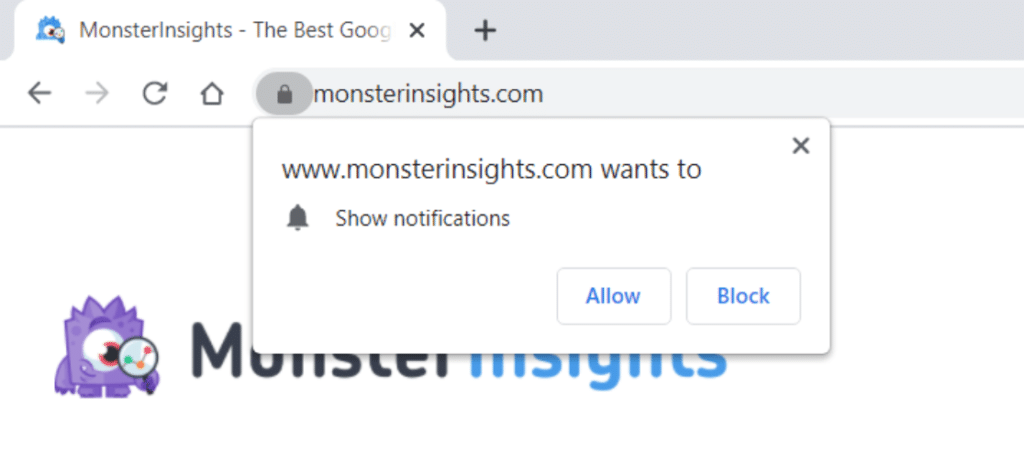
When you click the Allow button on the intermedia page, you will get a welcome push notification on your desktop or mobile device.
Step 5: Create Your First Push Notification
Now that push notification is set up on your WordPress website, the next thing is to create your first notification.
You can do that by going to the PushEngage dashboard and then click on Notifications » Create New » Notification.
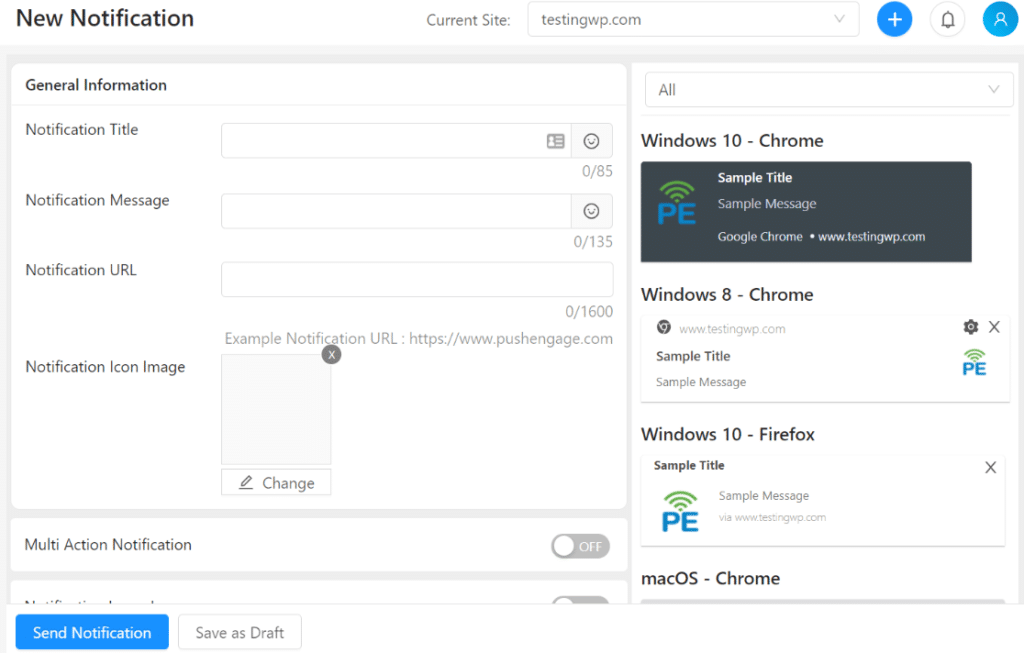
After that, enter the notification title, message, URL, image icon, set a time for notification duration, add UTM parameters, and choose from scheduling options. You will see a preview of your message for Windows, Android, and macOS alongside the settings.
After entering the details, you can send a test notification to make sure that you’re happy with the settings. Next, click the Send Notification button to send your push notification.
And that’s it!
We hope you liked our article on how to set up WordPress push notifications. You can also go through our guide on how to add Google Analytics to WordPress.
Don’t forget to follow us on Twitter, Facebook, and YouTube for more Google Analytics tutorials.
I am seriously looking for a blog like this So wonderfully you have explained easily to set up the push notification to the website.