
Creating an order form is one of the smartest ways to make sales on your WordPress site. With a well-designed order form, you can collect orders and payments online, streamline your sales process, and provide customers with a seamless purchasing experience.
In this article, I’ll show you exactly how to create a simple order form in WordPress that converts visitors into customers, without requiring any coding skills.
Choosing the Right Plugin for Your WordPress Order Form
Choosing the right plugin for your WordPress order form is crucial. While WordPress offers many form builder plugins, many of them can be complicated and not user-friendly, especially for beginners.
Thankfully, WPForms solves this problem with its simple yet powerful solution.

WPForms is the most powerful, beginner-friendly WordPress form plugin available. Over 6 million websites use WPForms, making it one of the most popular form solutions for WordPress.
What makes WPForms perfect for creating order forms:
- Built-in order form templates that let you create forms in minutes
- Drag-and-drop builder that’s incredibly easy to use
- Payment integrations with PayPal, Stripe, and more
- Conditional logic to create dynamic forms
- Multi-page forms capability for complex orders
- Form abandonment technology to capture leads even if users don’t complete their order
- And much more
Now, let’s look at how to create a simple order form in WordPress using WPForms.
Step 1: Download and Install WPForms
I’m going to use WPForms Pro. Depending on what you need your order form to do, you can use whichever license level makes the most sense. For example, you can connect to Stripe and build a simple order form using the free version of WPForms, but some fields (such as phone number and address) require the Basic license.
Take a look through the WPForms license levels and choose the one with the features you need.
After you’ve purchased WPForms, head to the Downloads tab to download your plugin:

After downloading the file, open your WordPress dashboard and navigate to Plugins » Add New » Upload Plugin. Upload your zip file:

Now, activate WPForms by clicking the blue Activate Plugin button:

Finally, grab your license key from your WPForms account, then navigate to WPForms » Settings » General to paste it in:

Step 2: Design Your Order Form
To create your first form, navigate to WPForms » Add New:

Now, you’ll choose your template. There are a few different order form templates in the template library, so go ahead and search “order” and find the one that’s best for your order form. Don’t worry, you’ll be able to customize it in any way you need! The template is just a starting place.
I’m going to start with the Billing/Order Form:

WPForms will create a simple order form for you. On the next screen, you can easily customize the form with the simple drag-and-drop form editor. The main customizations you can make are:
- Customize any field by simply clicking on it, and editing the options
- Rearrange the order of the fields by dragging them up and down
- Add additional fields by dragging them from the left side panel to the right side panel.
You can customize all the available fields, add new fields, and make the order form what you need it to be.
Let’s customize a field together. Go ahead and click on the Available Items field to open the field options pane. Here’s where you can change the items, change prices, add or remove choices, add prices, choose to use images instead, and more.

Need to add a field? Return to the Add Fields tab and click and drag it over to your form:

When you’re happy with your order form, click the orange Save button on the top right corner.
Step 3: Connect Payment Processor (if Accepting Payments)
Now that you’ve built an order form, the next step is to connect it with Stripe if you plan to accept payments.
To do that, click on the Payments tab and choose Stripe:

If you haven’t connected your site with Stripe yet, you’ll be prompted to go to your main WPForms settings page to set it up.
Go ahead and toggle the switch to enable Stripe payments, then go through the settings to get it all set up.

Step 4: Set up Notifications & Confirmations
After your customers submit an order, they’ll be expecting a confirmation. To set one up, head to the Settings tab and click on Confirmations:

Go ahead and edit your message so that it’s whatever you want it to be. Also, notice the toggles underneath the message field. This is where you can choose to show an entry preview and an order summary.
Or, click the Confirmation Type dropdown to redirect the user to another page instead.
For Notifications, you’ll want to notify both the customer via email and probably somebody at your company. When you click on the Notifications tab, you’ll see a default notification that’s already set up for you. It’s set to send to the admin email address for your website. Tweak it as needed, then click on the blue Add New Notification button to set up an email confirmation for your customer.
To send it to the person who filled out the form, click on the Show Smart Tags link and choose your form’s email field:

You can delete the {admin_email} tag from that field because it’s your website admin email.
Go ahead and customize your notification’s email subject, from name, email, reply to, and message.
When you’re done, don’t forget to click the Save button at the top right corner to save all your form settings.
Step 5: Add Your Order Form to Your WordPress Site
Now that you’ve created and configured your order form settings, let’s look at how to add your form to a page in WordPress.
Go ahead and create a new page or open to edit an existing page where you want to add the order form. Then, add a new block and search for the WPForms block:

Then, choose the form you want to insert on the page:

That’s it! After you update the page, your new form will be live on your site.
Step 6: Track Your Order Form Conversions
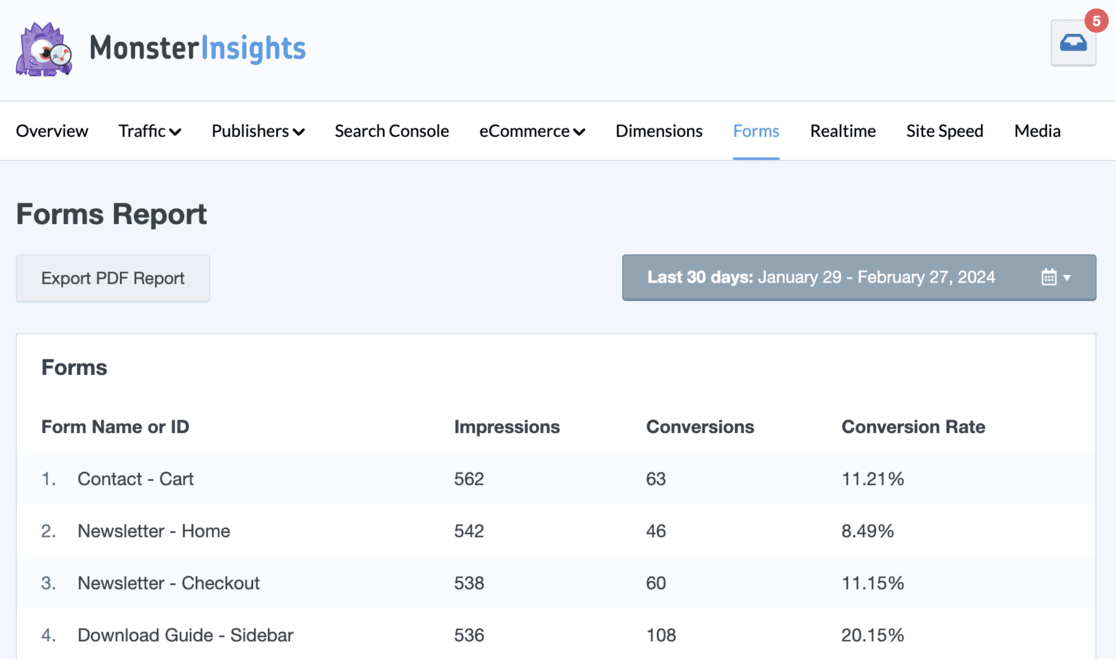
Now that you’ve added an order form to your site, it’s important to watch how it’s performing.
By tracking your WordPress forms, you can see the total number of views and conversions they’re triggering, plus their overall conversion rate. All you have to do to set it up is install MonsterInsights.
MonsterInsights is the best Google Analytics plugin for WordPress. Besides helping you easily install Google Analytics on your site without touching any code, it allows you to set up advanced tracking that doesn’t come standard with Google Analytics. That includes form submission tracking, eCommerce tracking, conversational AI analytics, author tracking, campaign tracking, and much more.

Just install and activate the MonsterInsights Forms addon, and the plugin will start tracking your forms automatically.

It integrates with WPForms as well as all the other popular WordPress form plugins.
For more on form tracking, read our article on how to track WordPress form conversions for beginners.
That’s it!
I hope you found this order form tutorial helpful! You might also want to check out:
A Complete Guide to GA4 Conversion Tracking for WordPress
How to Sell on WordPress Without WooCommerce
How to Create an Opt-In Form in WordPress (2 Easy Ways)
Not using MonsterInsights yet? Get started today!
Finally, stay connected with us on YouTube for the latest Google Analytics and WordPress tips and tutorials.
WordPress Order Form FAQ
What is the best WordPress plugin for creating order forms?
WPForms is the best WordPress plugin for creating order forms due to its user-friendly interface, built-in order form templates, and robust features like payment gateway integrations, conditional logic, and multi-page form capability.
Can I accept payments through my WordPress order form?
Yes, most WordPress form builders, including WPForms, offer integrations with payment gateways like PayPal, Stripe, and Square, allowing you to accept payments directly through your order forms.
How do I make my order form mobile-friendly?
Most premium WordPress form plugins like WPForms automatically create mobile-responsive forms. To ensure maximum mobile-friendliness, use clear, concise field labels, minimize the number of form fields, and test your form on various devices.
Can I customize the confirmation message after form submission?
Yes, WPForms allows you to customize the confirmation message that appears after a customer submits an order form. You can choose between displaying a simple message, redirecting to a thank you page, or sending users to a specific URL.
How do I prevent spam submissions on my order forms?
To prevent spam submissions on your WordPress order forms, you can use built-in anti-spam features like CAPTCHA, honeypot techniques, or install dedicated anti-spam plugins. WPForms includes several anti-spam measures in its forms by default.