Are you a WordPress website owner looking for the best way to check website speed?
There’s nothing more frustrating than having a slow-loading website. It ruins the user experience, as people might leave your site and go elsewhere before it even loads. Not only that, but it can have a huge impact on your keyword rankings.
In this article, we’ll show you how to check website speed in WordPress quickly and easily.
Why Check WordPress Website Speed?
Did you know that your website speed can make or break your business?
If your site loads within seconds and visitors don’t have to wait around, you’ll have a higher chance of getting more conversions.
That’s because slow load time can frustrate people, and they may end up clicking the back button. As a result, you’ll have a high bounce rate and could lose potential customers.
Besides that, website speed is important for your search engine optimization (SEO).
Since May 2021, website speed has been a part of Google’s list of Core Web Vitals – a list of metrics that Google uses to determine the user experience of your website – and speed is now a ranking factor.
So, having a speedy website is vital for higher rankings and boosting organic traffic.
How to Check Website Speed in WordPress
The simplest way to see whether your WordPress site loads quickly or slowly is by using MonsterInsights.
It’s the best Google Analytics plugin for WordPress and helps your measure site speed. The best part is that you don’t have to leave your website to check load times. The plugin provides data from Google’s PageSpeed Insights tool inside your WordPress dashboard.
Aside from that, MonsterInsights also helps set up Google Analytics without coding and offers advanced features like eCommerce tracking, file download tracking, link and button click tracking, and form conversion tracking to uncover insights about your users.
To find out how fast your website is, just follow these steps.
Step 1: Install MonsterInsights
First, you’ll need to install and activate MonsterInsights on your WordPress website. You can start by signing up for an account, but make sure you have a Plus or higher license plan.
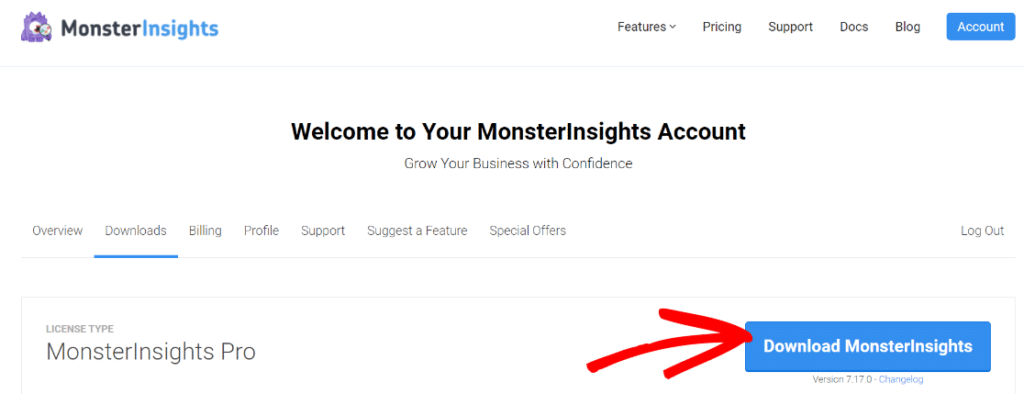
Next, download the setup files from your account area. You can find them under the Downloads tab.
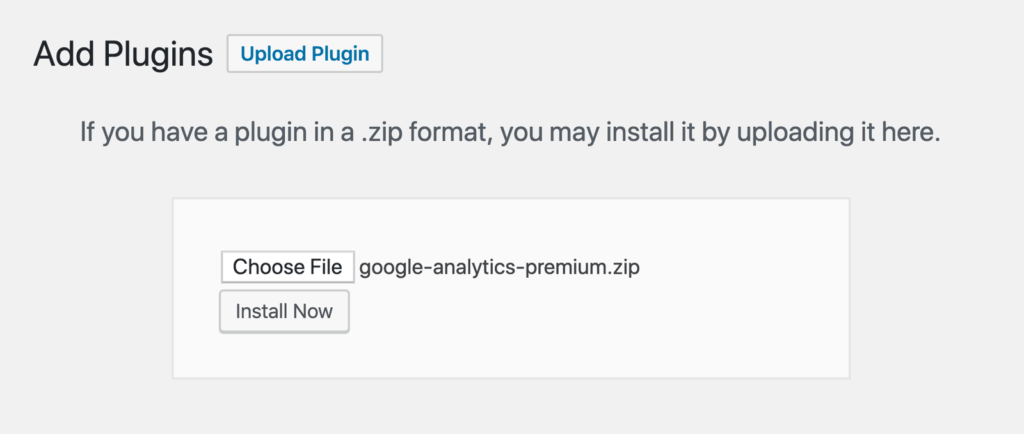
After that, go to your WordPress admin area and navigate to Plugins » Add New » Upload Plugin. Here, upload the downloaded setup file for MonsterInsights.
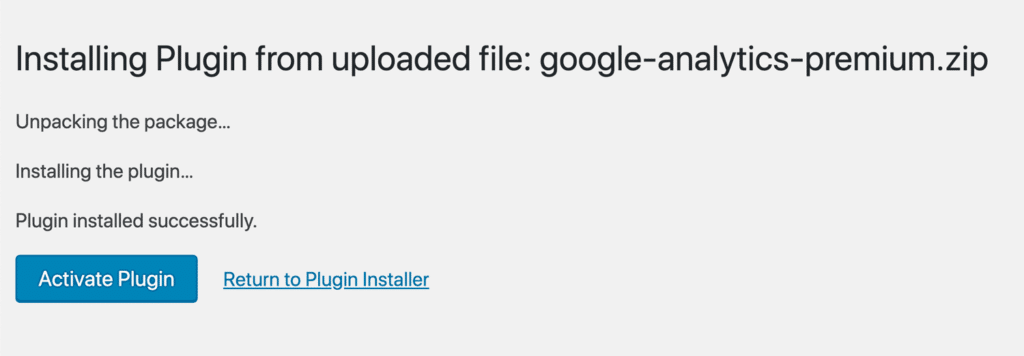
Now, install and activate the plugin.
Step 2: Add Google Analytics to WordPress
In the next step, you’ll need to connect Google Analytics to your website using MonsterInsights.
By using MonsterInsights, there’s no need to hire a developer or edit code yourself. The plugin makes it super simple to add the Google Analytics tracking code to your site.
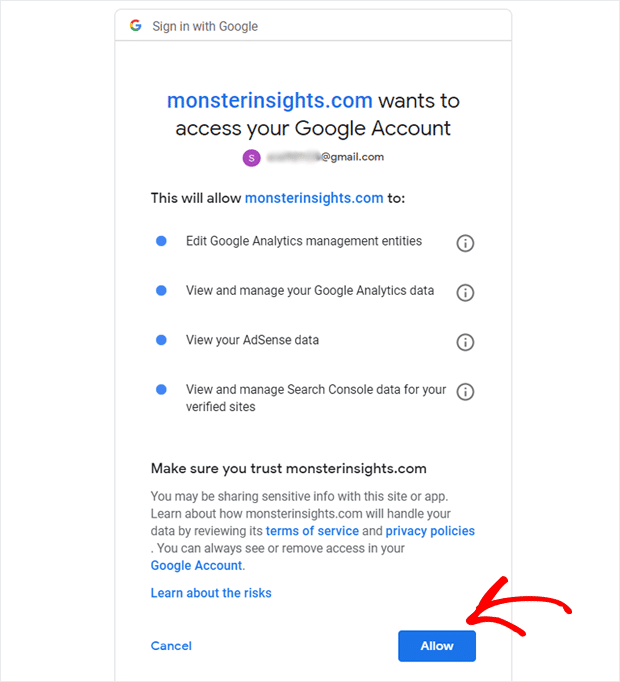
For more details, check out our guide on how to add Google Analytics to your WordPress website.
Step 3: View MonsterInsights Site Speed Report
Now that Google Analytics is up and running, you can check your website speed using the Site Speed report.
To view the report, go to Insights » Reports and click the Site Speed tab.
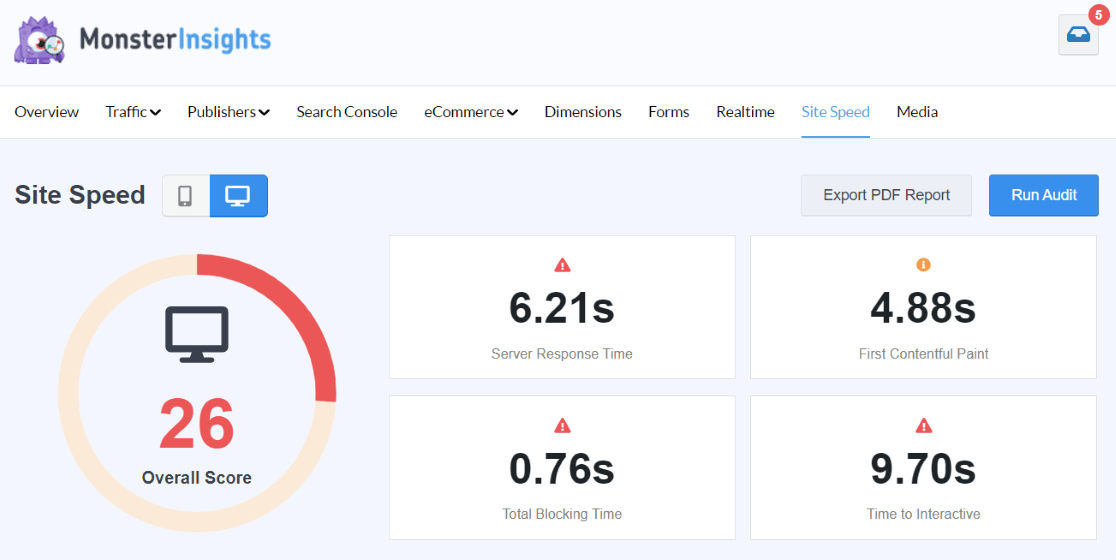
In the report, you’ll get an overall score of your load time for desktop and mobile. A high score shows that your website loads quickly.
On the other hand, a low score indicates that your website is loading slowly, and you should look into improving your load speed to provide a better user experience.
Besides that, MonsterInsights also shows other metrics that are important for having a fast website. For each metric, you can see a goal and suggestions on how to improve it for better performance.
Let’s look at how you can use these metrics in detail.
How to Use the MonsterInsights Site Speed Report
The Site Speed report is great for getting a quick glance at the load time of your website on mobile and desktop. However, how do you use the report and get insights to take your site’s performance to the next level?
Let’s break each metric provided in the report, take a look at what they mean, what goals you should aim for, and how to improve each metric.
Server Response Time
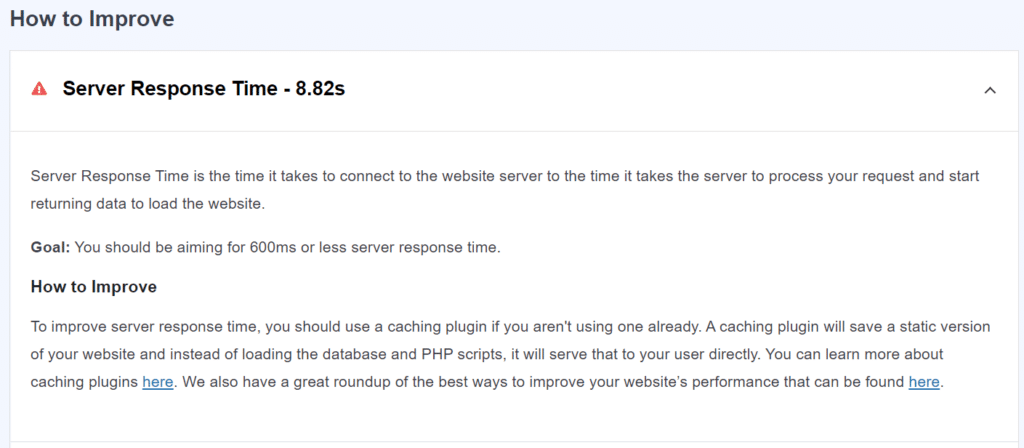
Server response time is the time it takes for the website server to respond to your requests and start sending data back to the website.
For example, when you click on a website link or enter a URL in your browser, a request will be sent to the website server. The server will then process that request and start returning data (like images, content, stylesheets, etc.) to load the website.
Ideally, the server response time should be 600ms (milliseconds) or less. When a user clicks on a link, the website or web page should load instantly.
To improve the server response time of your website, you can use a WordPress cache plugin. What a caching plugin does is that it temporarily stores data that’s frequently requested. It would also make a copy of a page when someone visits for the first time.
This way, when a user visits your site, it quickly responds to the request without loading the entire page every time.
First Contentful Paint
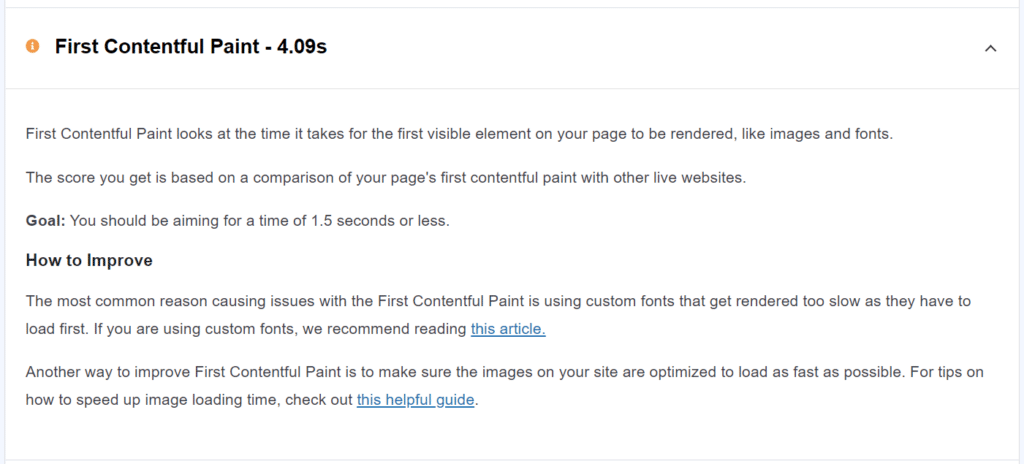
First Contentful Paint tells you the time it takes for the first visual elements on a page to start displaying for a user. These include images, videos, fonts, colors, shapes, and more.
Google’s speed test tool uses other live websites as a reference to measure your First Contentful Paint score. You should try and aim to keep First Contentful Paint under 1.5 seconds or less.
And a simple way to optimize your images is to compress them. Having large images means it will take more resources to load them. This is where you can use tools like TinyPNG that compress the size of the picture to speed up your website.
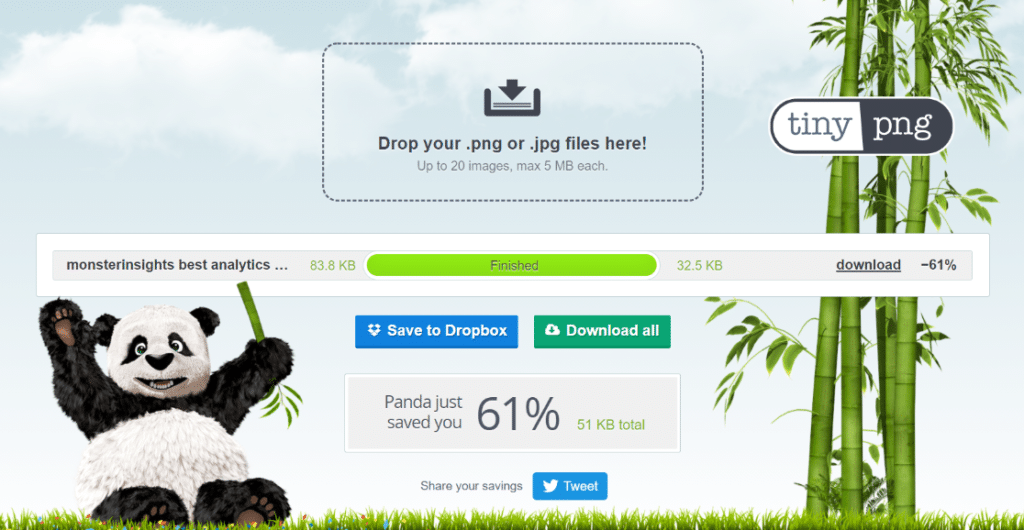
You can also edit images, remove different layers, resize the image, and export it in another format, such as PNG or JPEG, to reduce their size and improve website speed.
Another reason for a high First Contentful Paint is if you’re using a lot of custom fonts. Using a single font throughout the website will help it load faster, as the website doesn’t have to render multiple fonts.
Time to Interactive
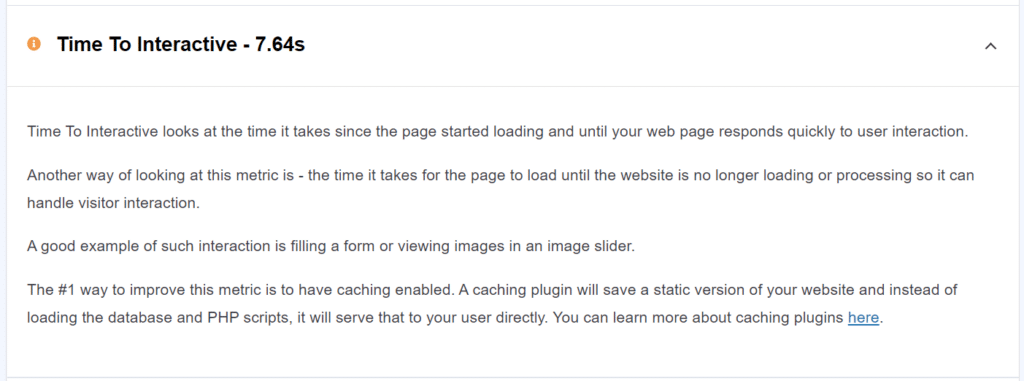
Time to Interactive shows you the time it takes from when the page starts loading until it’s no longer loading or processing and can handle user interactions.
For example, let’s say you have an image slider on your blog post. Time to Interactive will measure the time it takes to be able to change between one image and another – basically until it’s no longer loading.
A good Time to Interactive score is 5 seconds or less. You can reduce load time and improve the Time to Interactive score using a caching plugin for WordPress.
Total Blocking Time
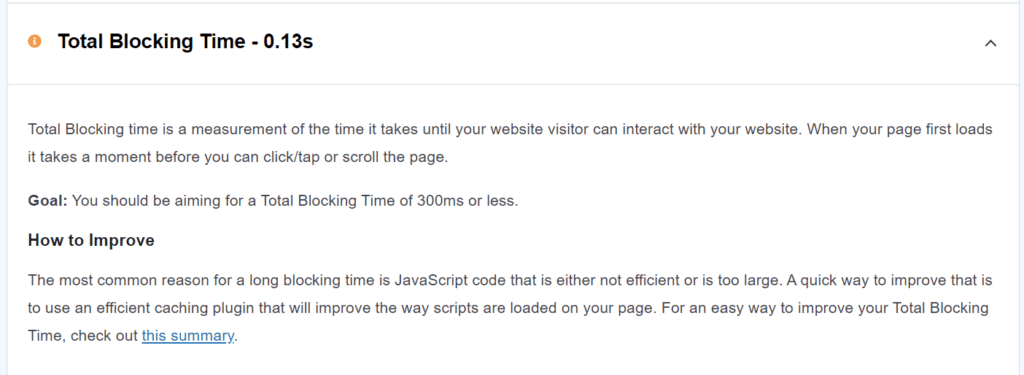
Have you ever noticed that when you visit a website, it takes a moment to load before you can click or scroll the web page?
Total Blocking Time measures this and tells you the time it takes for the website to load fully until visitors can start interacting with it.
It would be best if you aimed for 300ms or less Total Blocking Time. A fast-loading website is great for user experience because people can quickly click on a link, scroll through your content, buy a product, or watch a video.
A caching plugin speeds up your site and keeps the Total Blocking Time below 300ms. It also helps optimize JavaScript and CSS files. These are files that can slow down your site if they become too big.
Cache plugins, like WP Rocket, offer features to reduce JavaScript and CSS file sizes and keep them optimized. You can check out this guide on how to fix render-blocking JavaScript and CSS in WordPress.
And that’s it!
We hope you liked our article on how to check website speed in WordPress in 2 minutes or less. You can also go through our guide on How to Speed Up Your WordPress Site Performance: 17 Hacks.
Don’t forget to follow MonsterInsights on Facebook, Twitter, and YouTube for more guides and other helpful Analytics tips.
