So, you’ve been using MonsterInsights to tally up how many people view your pages and posts. And, Google Analytics has been neatly storing away all that data for you. Now what?
Imagine this—imagine asking Google Analytics to show off your top posts to anyone that visits your site. With Popular Posts, you can start making your valuable analytics data work for you in almost no time.
Before getting started…
- You’ll need the MonsterInsights Pro plugin.
- You’ll need to install and activate the Dimensions Addon (available to Pro level customers and above).
In this article, we’ll cover how to add the top 5 Posts (from the past 30 days) to your curated list of Popular Posts. This unique feature will not only keep your readers glued to your content, they’ll wanna come back for more.
Step 1: Set up the Post Type Custom Dimension
The Post Type custom dimension must be in place for all this to work correctly. Follow our how-to guide to set up the custom dimension in MonsterInsights and connect it to your Google Analytics account.
Step 2: Wait 24-48 Hours for Data
If you didn’t have the Post Type custom dimension set up before, you’ll need to wait around 24 hours for it to take effect in Google Analytics.
Step 3: Specify How Popular Posts are Sorted
Navigate to Insights » Popular Posts » Inline Popular Posts » Sort By.
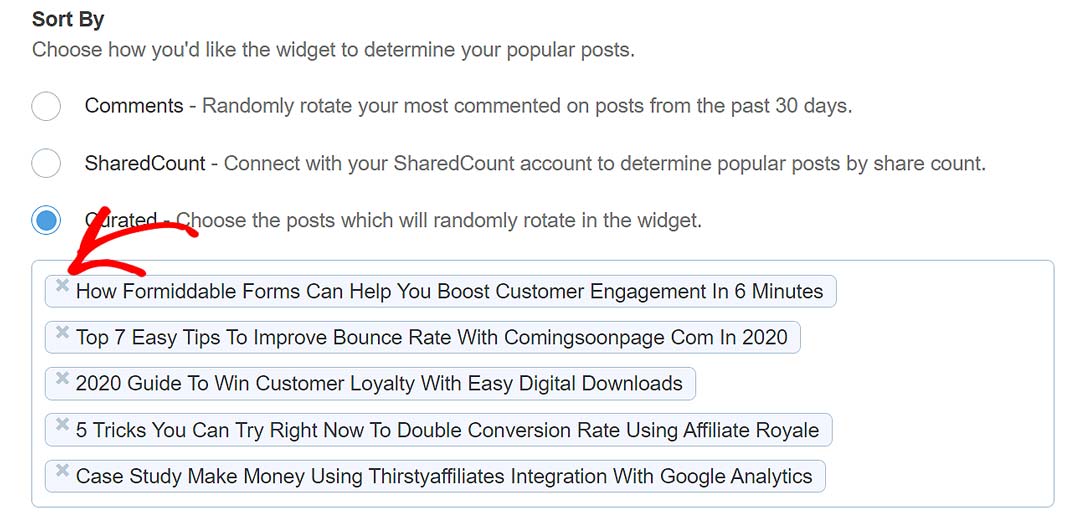
Click on the Curated radio button.

Click inside the text area below the Curated radio button. A drop-down list will appear. Select from the drop-down list or start typing in the title of your post to do a search.
Once a post is selected, it’s automatically added to the text area. Each selection is added to the list. To remove a selection, click on the x icon in front of the post title that you wanted removed.

Step 4: Add the Top 5 Posts from Google Analytics
Navigate to Insights » Popular Posts » Inline Popular Posts » Automated + Curated.
Click the Add Top 5 Posts from Google Analytics toggle button to slide to the on position. A Check configuration button will appear below the toggle button.
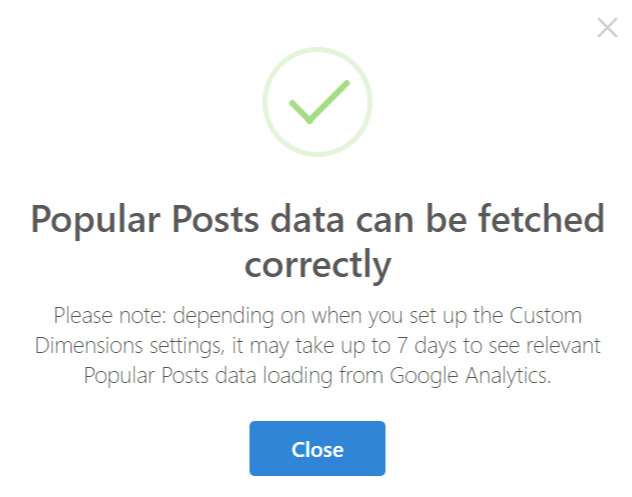
Click on the Check configuration button. If the check configuration is successful, you’ll see the following message.

Otherwise, if you’re missing a setting, such as the required Post Type custom dimension, you’ll be conveniently guided on where to go to fix it.
Don’t worry about saving all your changes. Our auto-save feature makes sure your settings are saved. Or if you want, scroll back up to the top of the page and click the Save Changes button.
To see the work that you just did, make sure you’ve inserted your inline Popular Posts somewhere on your site. Then, visit that page to see your curated top 5 posts proudly on display. Congrats!

