Want to get more accurate data about your visitors to your Google AMP enabled pages? Then you need the MonsterInsights Google AMP addon. In this guide, we’ll show you how to install and activate the Google AMP addon.
To access the addon, you must have the Plus license plan or higher. Before starting, you’ll have to have the MonsterInsights plugin installed and authenticated with Google Analytics.
You’ll also need to have the Automattic AMP plugin installed and activated, and you must be running WordPress version 4.6 or newer.
What Is Google AMP?
Google Accelerated Mobile Project is an open-source initiative with the goal of making web content load faster for mobile users.
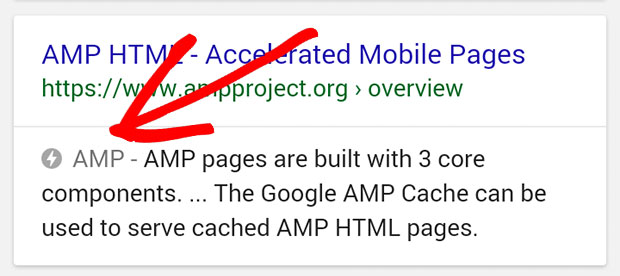
You might have already seen the AMP symbol beneath some Google search results on mobile.

It tells you that by clicking on the search result, you’ll be directed to an AMP page, which is a streamlined version of the original article specifically built for boosting page speed.
A few features of the MonsterInsights Google AMP addon are:
- It stops double tracking visitors: By default, when a user visits an AMP page and then a normal page (or vice versa), Google AMP Analytics counts it as two different sessions. Our Google AMP addon fix this issue and track it as a single session.
- It supports other MonsterInsights features: In your AMP pages, you can adjust sample rates with the Performance addon or segment your Analytics with different dimensions in Custom Dimensions addon.
How to Install the Google AMP Addon
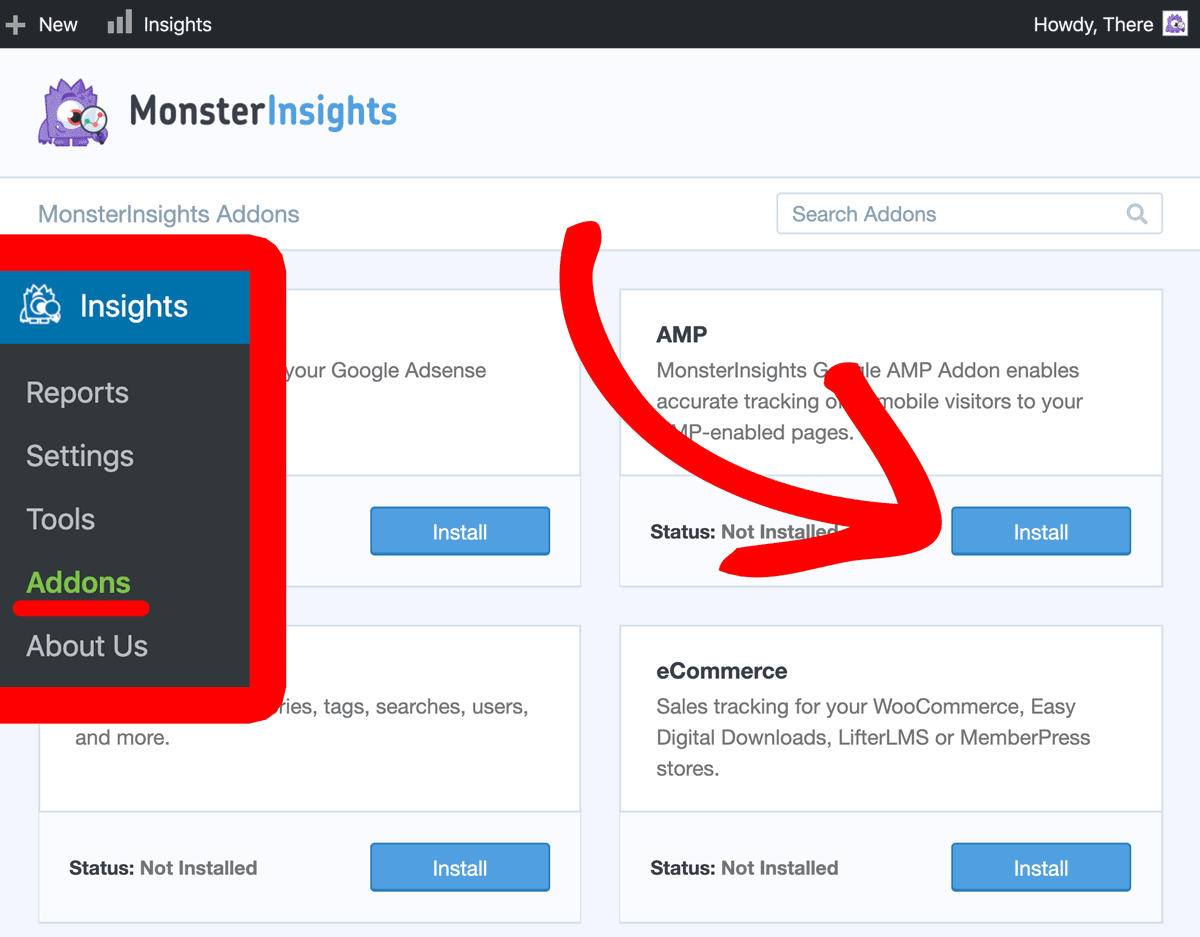
First, go to Insights » Addons and click Install under the MonsterInsights Google AMP addon.

After the plugin is installed, the button will auto-activate. If it doesn’t, go ahead and click the Activate button to make sure the addon is active and ready to use.
Congrats!
You’ve successfully installed the Google AMP addon.
You may begin to see some referrals from cdn.ampproject.com. Please see our guide: Why am I seeing a lot of AMP traffic from cdn.ampproject.org? to setup a referral exclusion for this URL.

