Do you want to add custom Javascript code to your MonsterInsights Google Analytics Tracking?
In this guide, we’ll show you how to adjust your bounce rate with Google Analytics for users that stay on your page for 20 seconds or more.
What is a bounce rate? A bounce rate is the number of users that your site click the back button or close the tab without performing any other such as clicking on to another link or page on your site.
However, your bounce rate can be deceiving! Because what about users that spend a long time reading your content, and find what they’re looking for. And then close the tab or click back. That should count as a success.
For that reason, we’ll show you how to adjust your bounce rate for site visitors that stay on your page for at least 20 seconds.
Step 1: Log in to your WordPress dashboard and then install the Insert Header and Footers plugin.
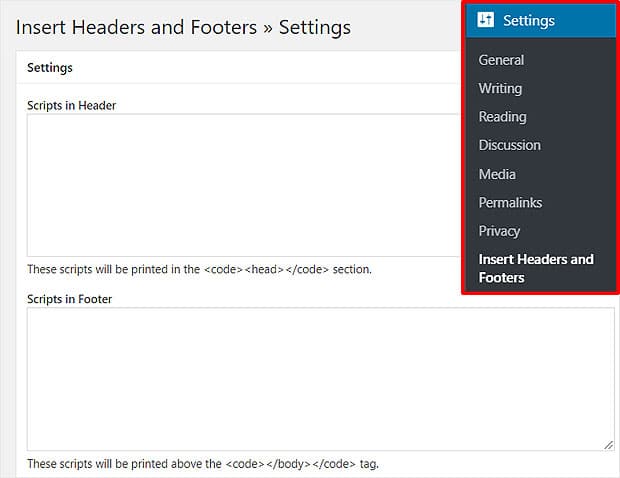
Step 2: After activating the plugin, go to Settings » Insert Headers and Footers.

You’ll see 2 boxes for adding header and footer code.
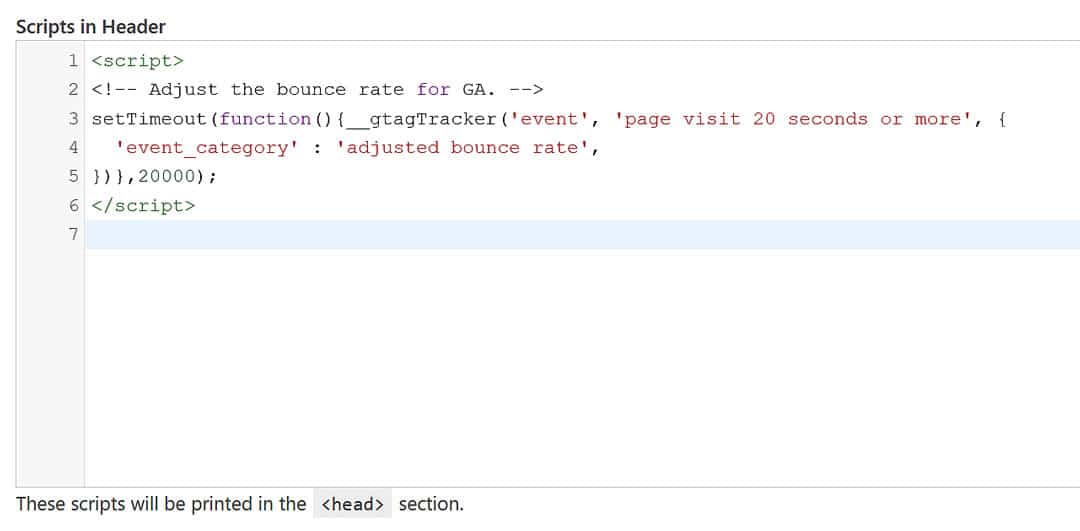
Step 3: Paste the following code into the Scripts in Header input box at the top.
<script>
// Adjust the bounce rate for GA.
setTimeout(function(){__gtagTracker('event', 'page visit 20 seconds or more', {
  'event_category' : 'adjusted bounce rate',
})},20000);
</script>
Click the Save button.

That above number is in milliseconds. So to change it to 40 seconds, the number would be 40000.
That’s it! Now you’ve adjusted the bounce rate on your site to not include users that spend more than 20 seconds on your site.
Are you interested in improving how your site shows up in Google’s search results?
Google Search Console will give you some tips, so be sure to see our guide on How to Verify Your Site in Google Search Console with Google Analytics.

